
UniFi - How to restore a UniFi Dream Machine (UDM) backup to a new HostiFi UniFi OS Server
This guide will explain the process to move your existing UniFi Network installation that is running on a UniFi Dream Machine (UDM, UDM Pro, UDM SE, UDR or any other UniFi OS Console) to a HostiFi UniFi OS Server.
Important: A UDM, UDM Pro, UDM SE, UDR or any other UniFi OS Console cannot be managed by HostiFi, or any other cloud hosted UniFi Controller. These can be managed separately, but we would recommend using a UXG or a third party router. When managed separately, HostiFi won't be able to perform UniFi updates, and backups won't be stored offsite.
If you want fast and reliable UniFi OS Server hosting, check out HostiFi with expert support, regular backups, managed updates and prices from just $9 per month.
To learn more about our hosting plans, create an account and get started today.
Not sure yet? - Book a free demo with our team.
Check this is the correct migration method
Important: There are three different migration methods to move from an existing UDM, UDM Pro, UDM SE, UDR or any other UniFi OS Console. The method outlined in this guide will overwrite the existing sites on the UniFi OS Server. For other methods and how they compare, see our Complete guide on migrating from a UniFi OS Console to a HostiFi UniFi OS Server.
Deploy a new HostiFi UniFi Server
If you haven't already, sign up for a new HostiFi account at app.hostifi.com and deploy a new UniFi server. A full guide explaining this can be found here. We have plans for all deployment sizes, ranging from $9/month for 25 devices up to over 1,000 devices with our custom Enterprise plans.
Update the UniFi OS Console firmware
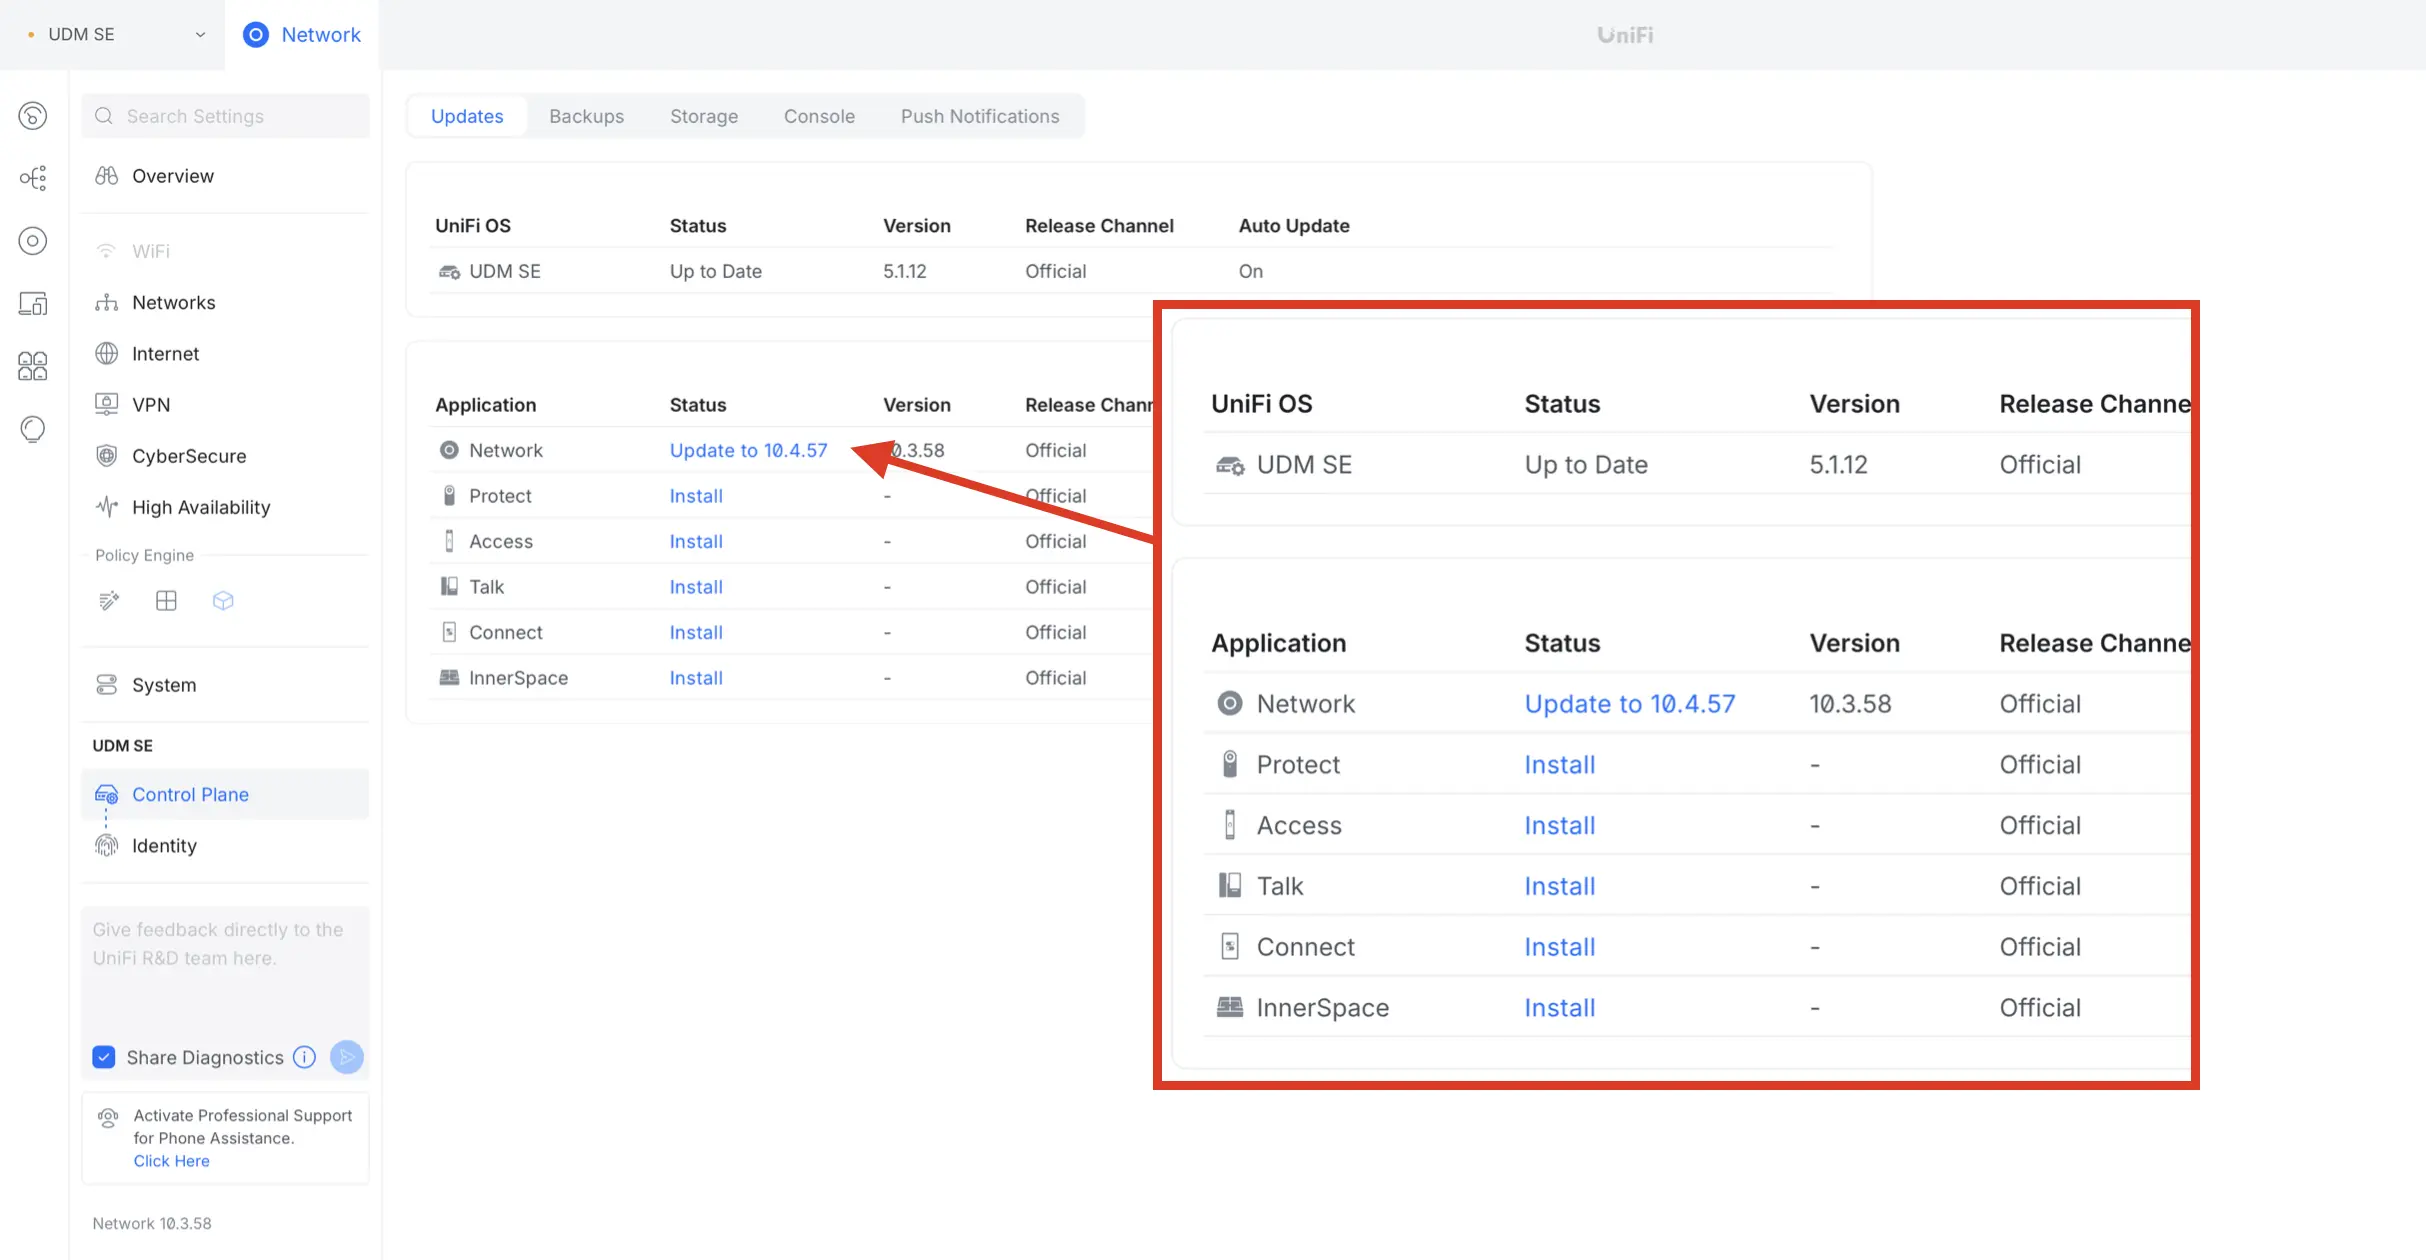
First thing to do is update the existing UniFi OS Console to the latest version, as it can reduce the possibility of any issues if both the device you are moving from and to are on the latest versions.
This can be done by going to Settings > Control Plane and updating UniFi OS and UniFi Network if required. Once completed, move to the next step.
Download a UniFi OS Backup file
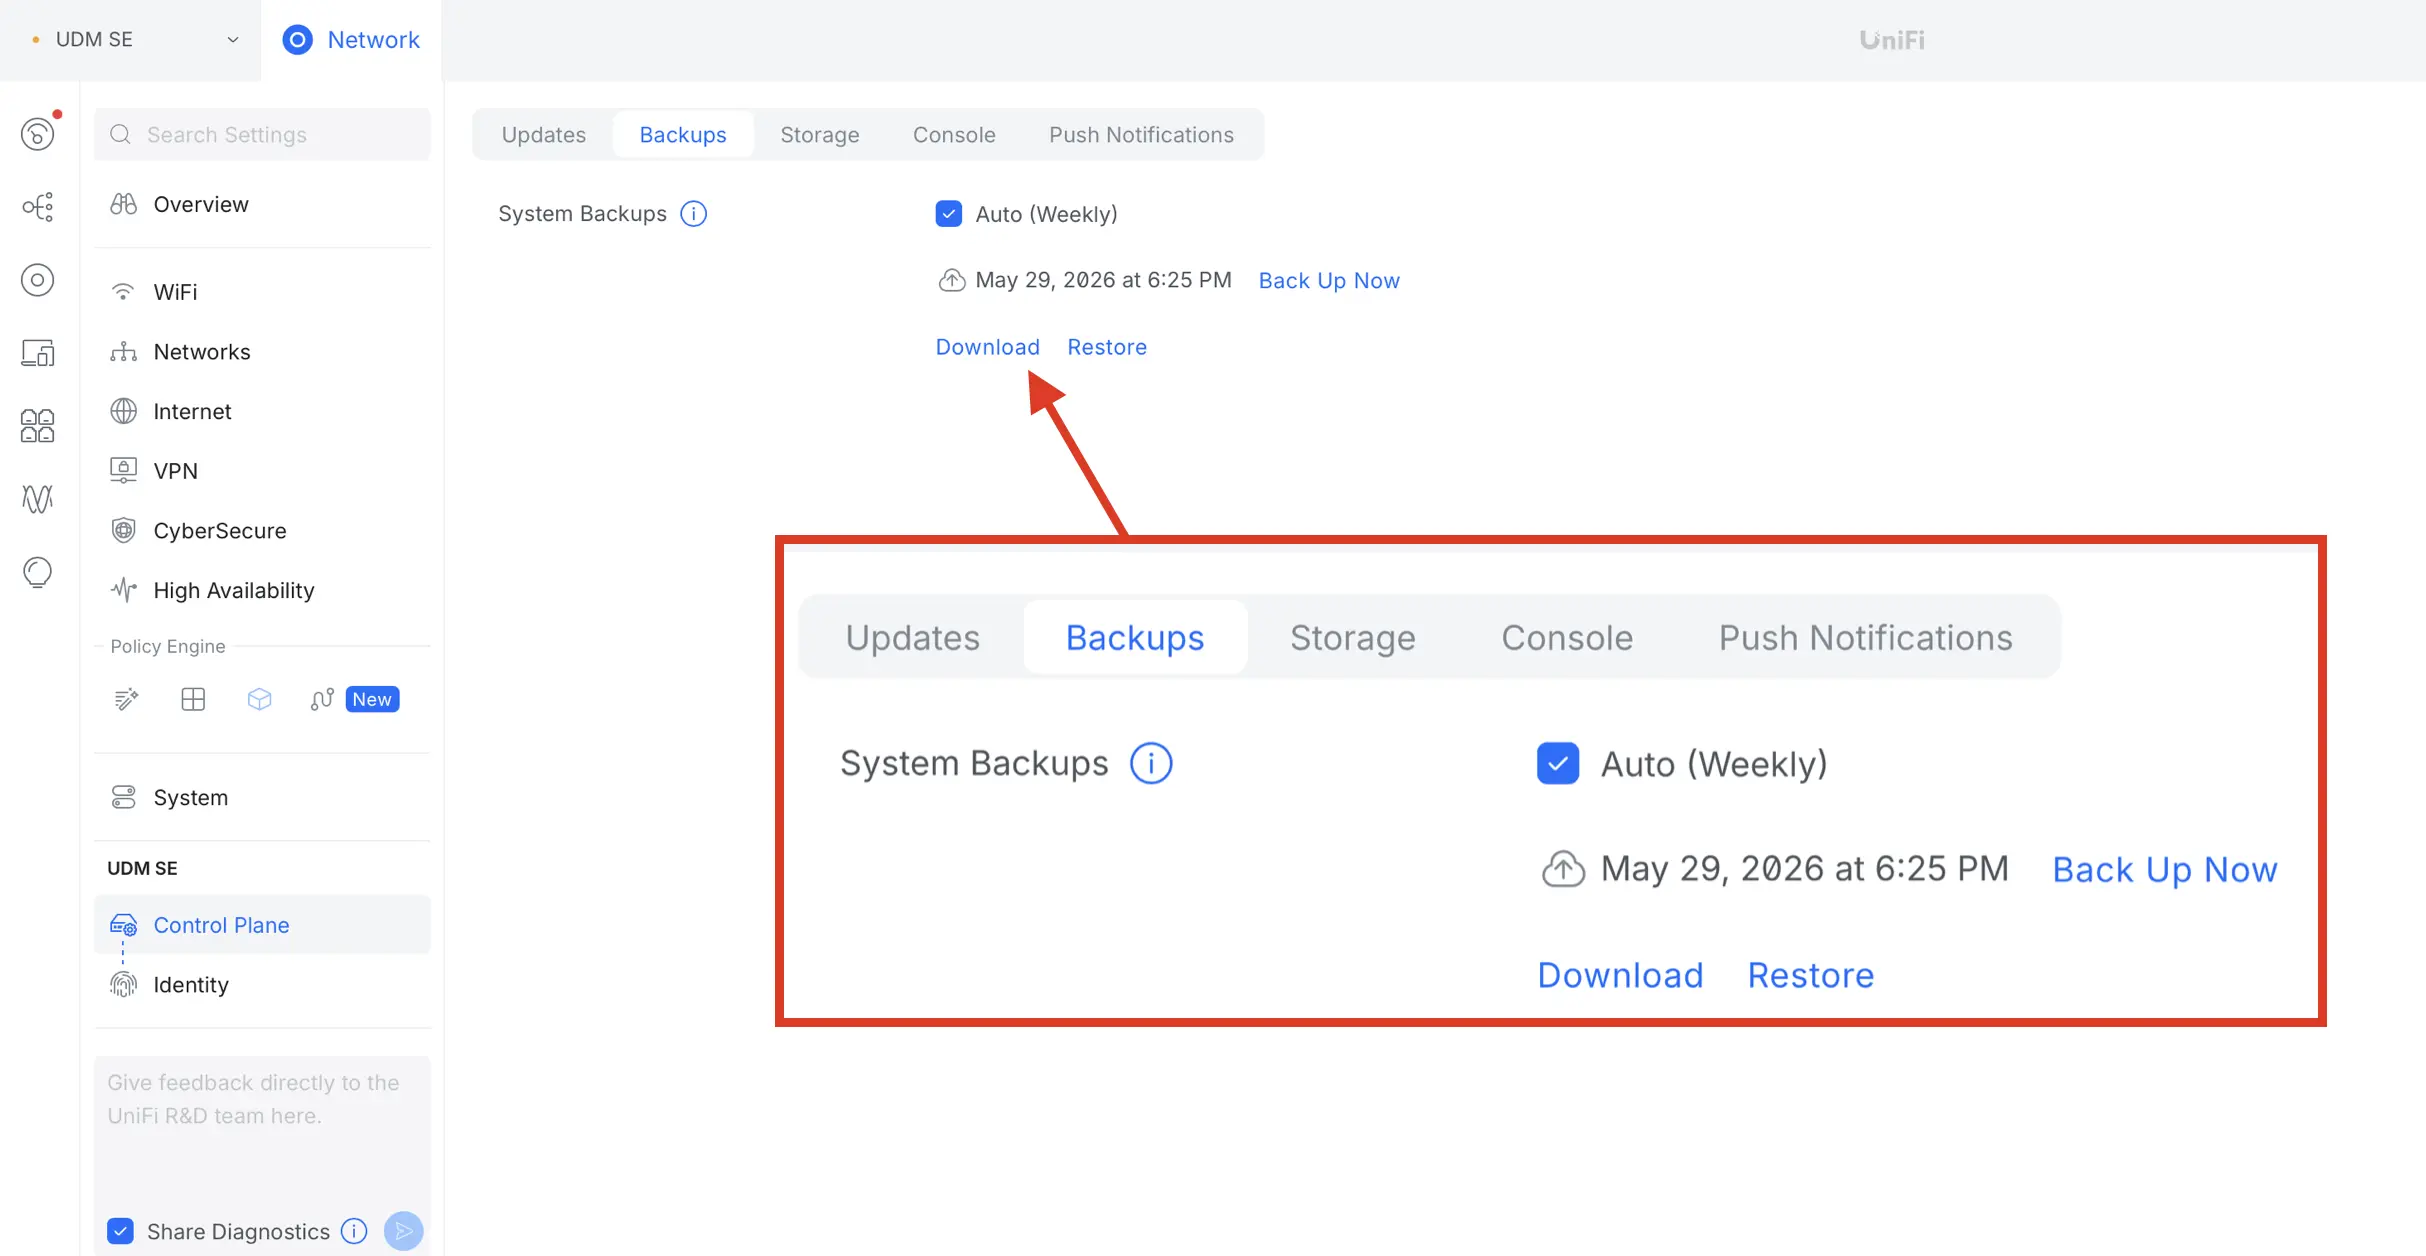
Once everything is updated, the next thing to do is to download a system level backup file from the UniFi OS Console.
To do this go to to the Control Plane > Backups and then click on Download to generate an up to date file.
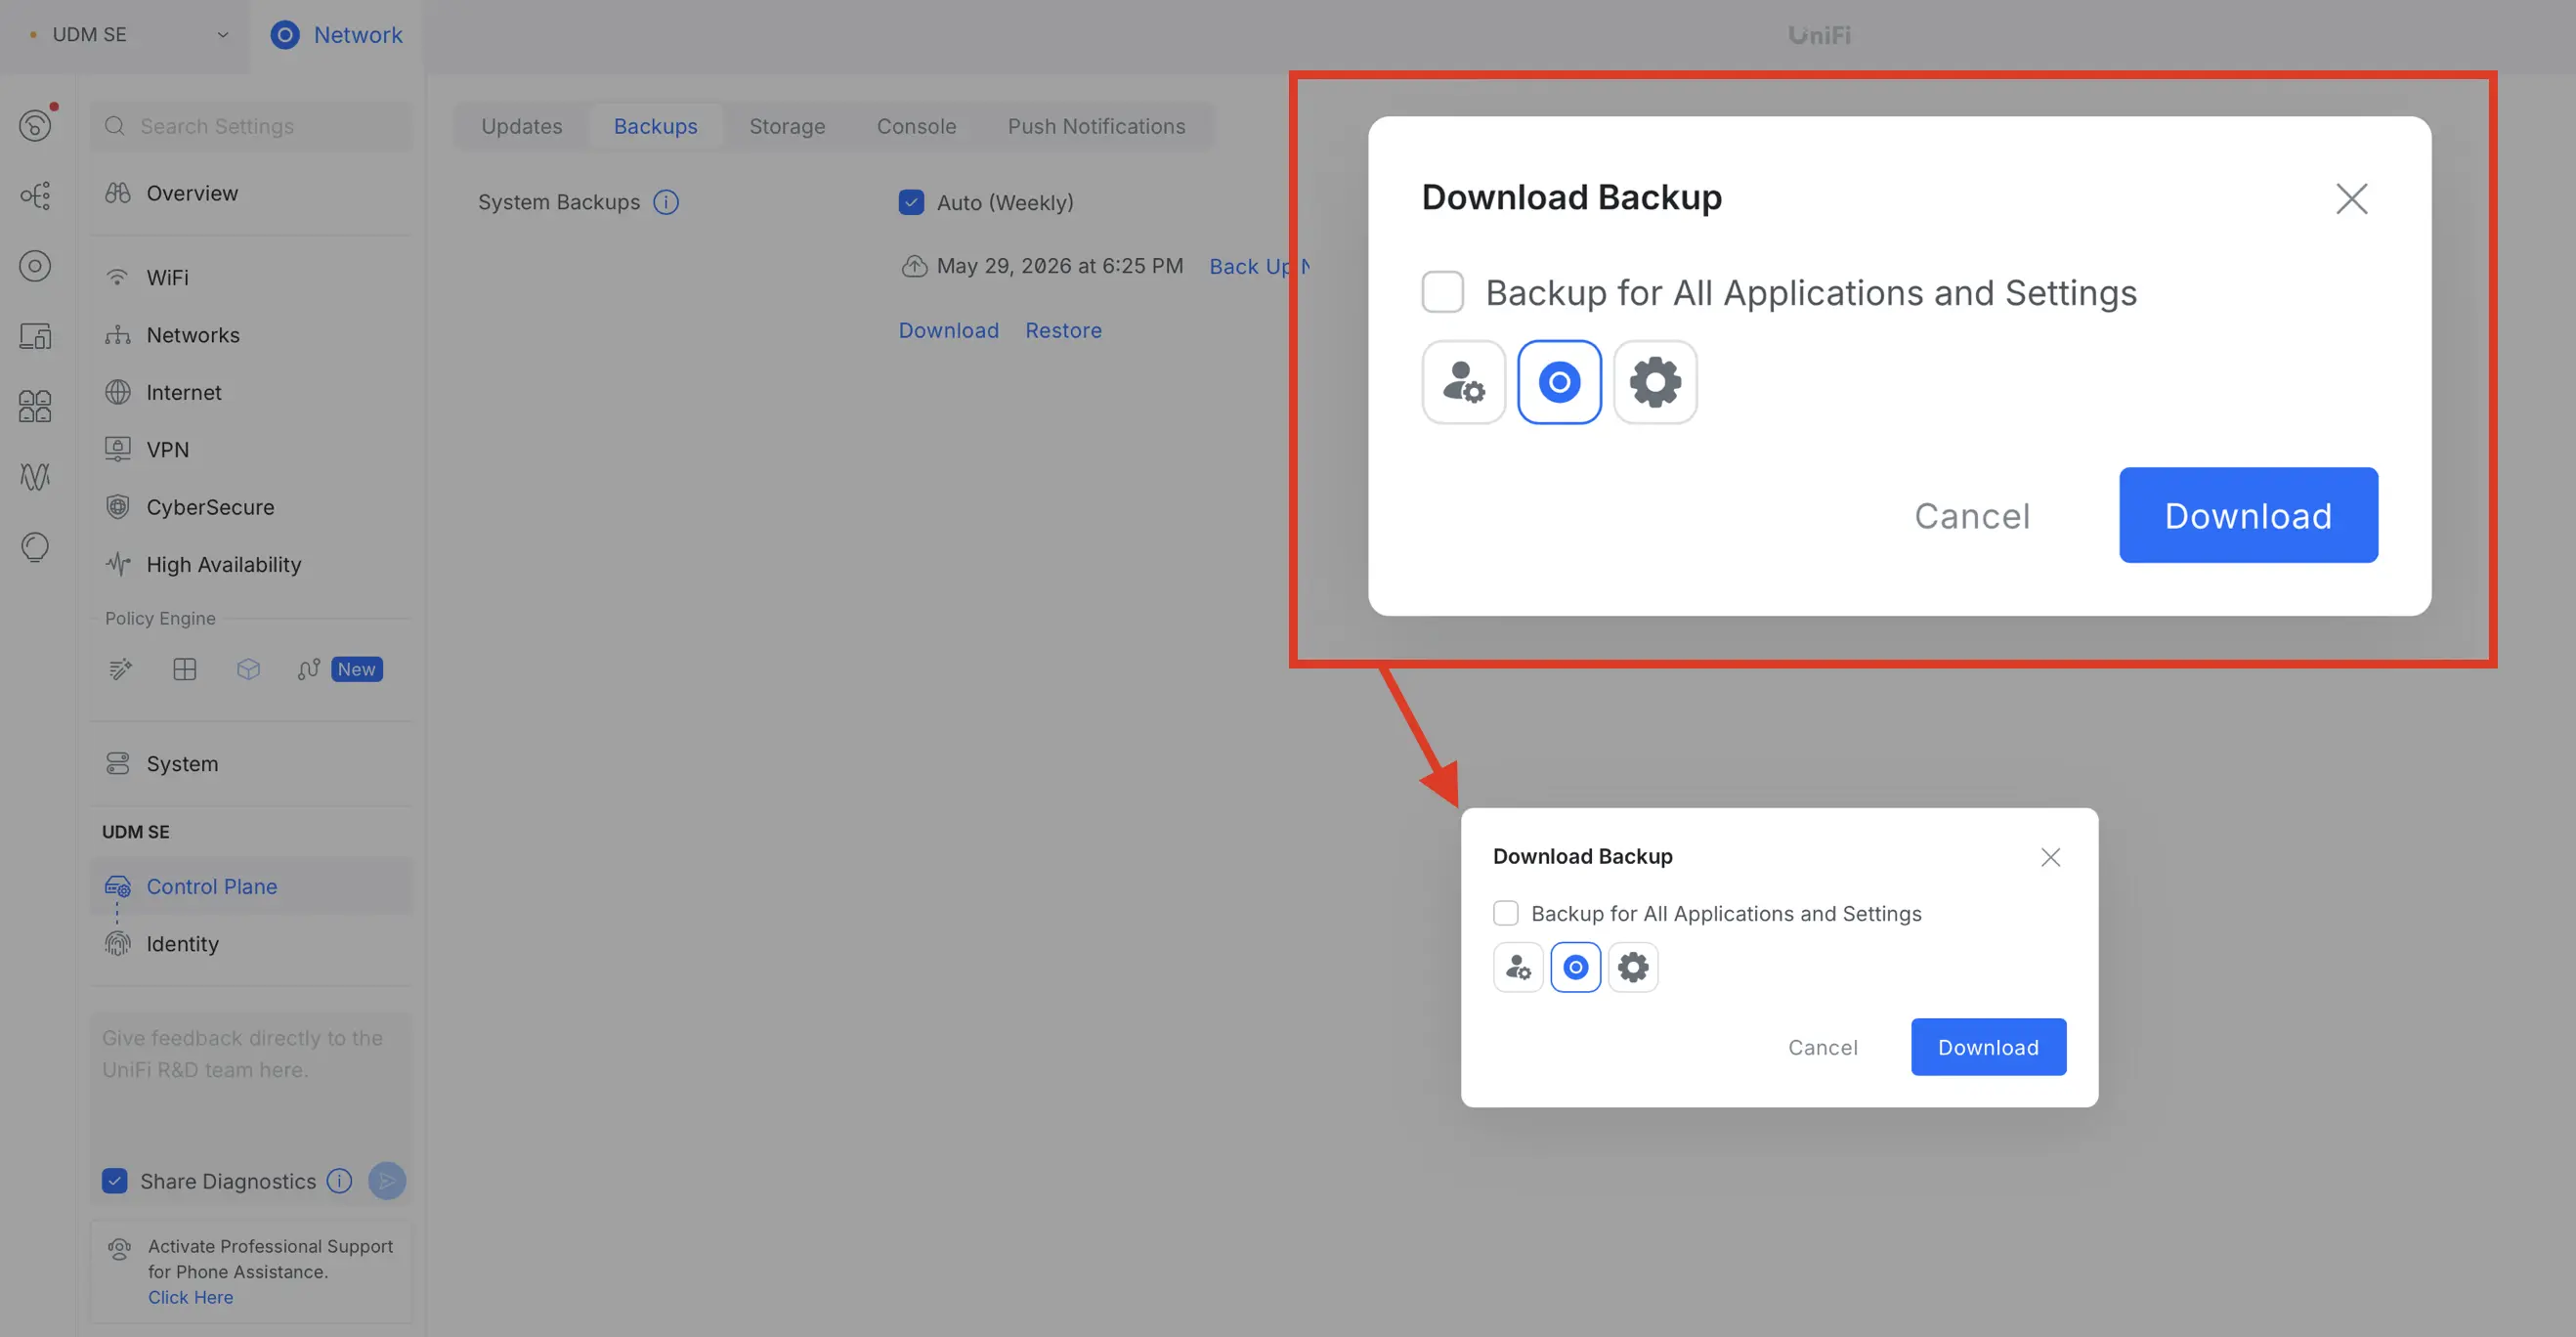
After clicking Download, it'll ask whether you want a Backup for All Applications and Settings. This is not required, so instead untick and select the network icon instead, then click Download. This will download a .unf file which we can then restore into the new UniFi OS Server.
Restore the backup to the HostiFi UniFi OS Server
The next step is to upload the backup that was downloaded from the UniFi OS Console to the HostiFi UniFi OS Server.
To do this, log into your UniFi OS Server that was set up earlier. Temporary credentials and server URL information can be found at app.hostifi.com. Then visit Settings > Control Plane > Backups then click on Upload & Restore.
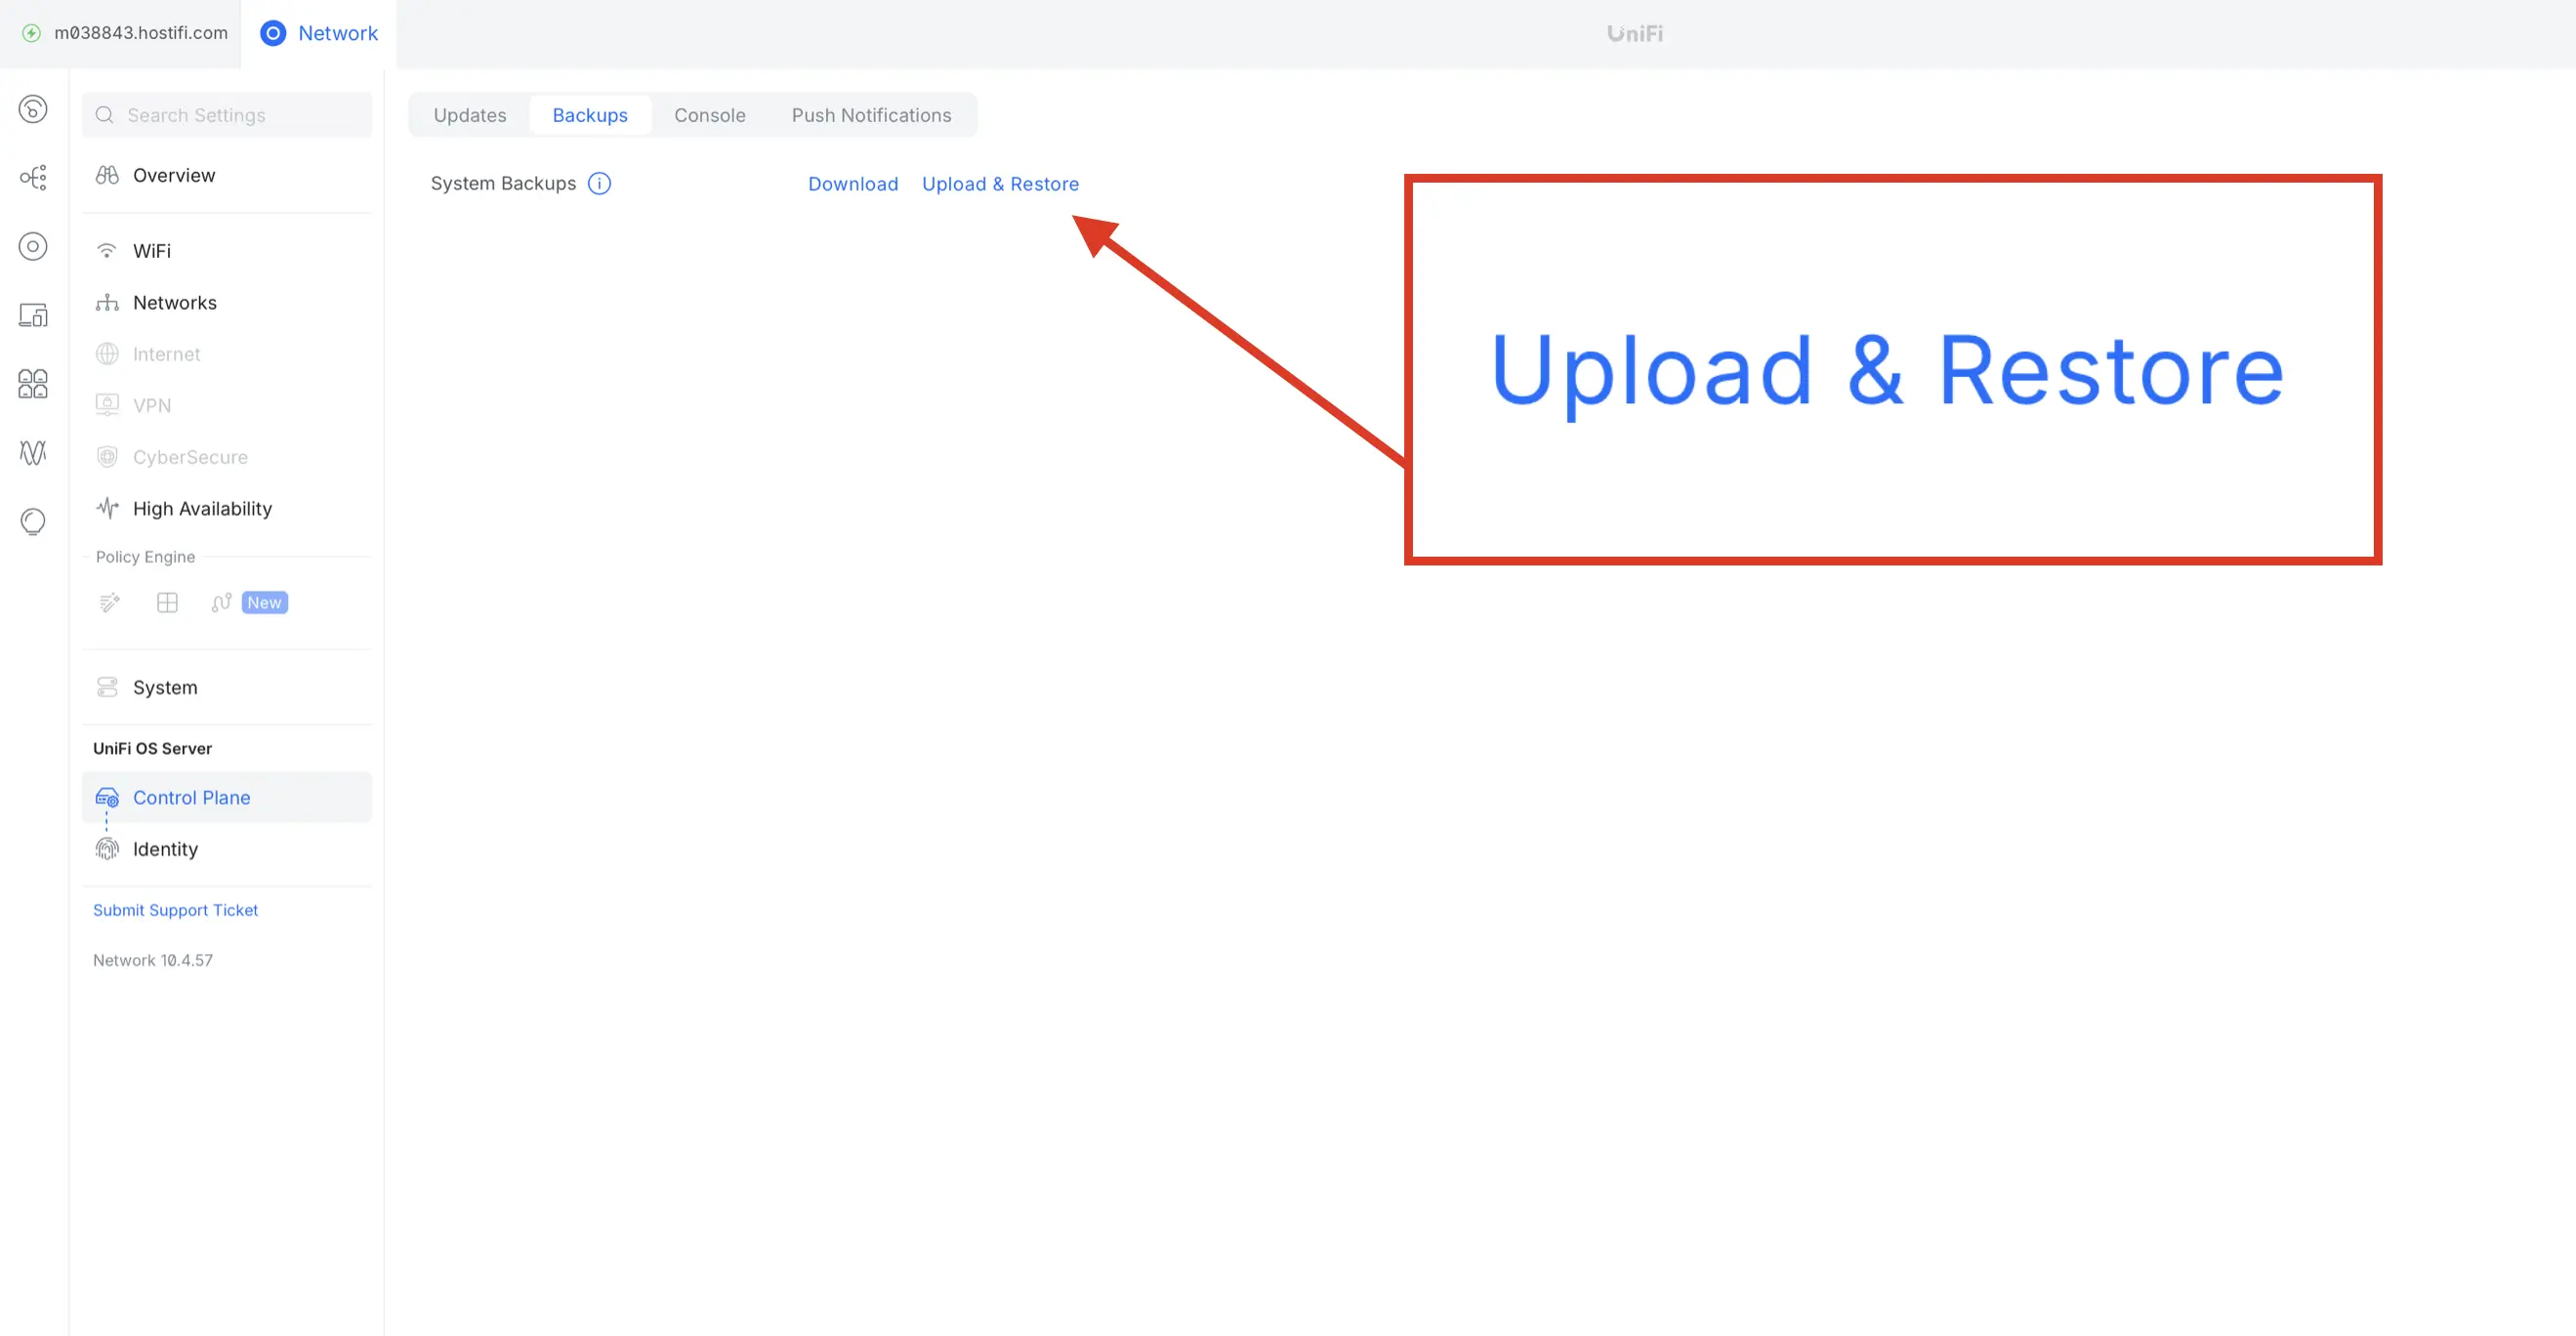
Upload the .unf file downloaded from the UniFi OS Console earlier and click Restore.
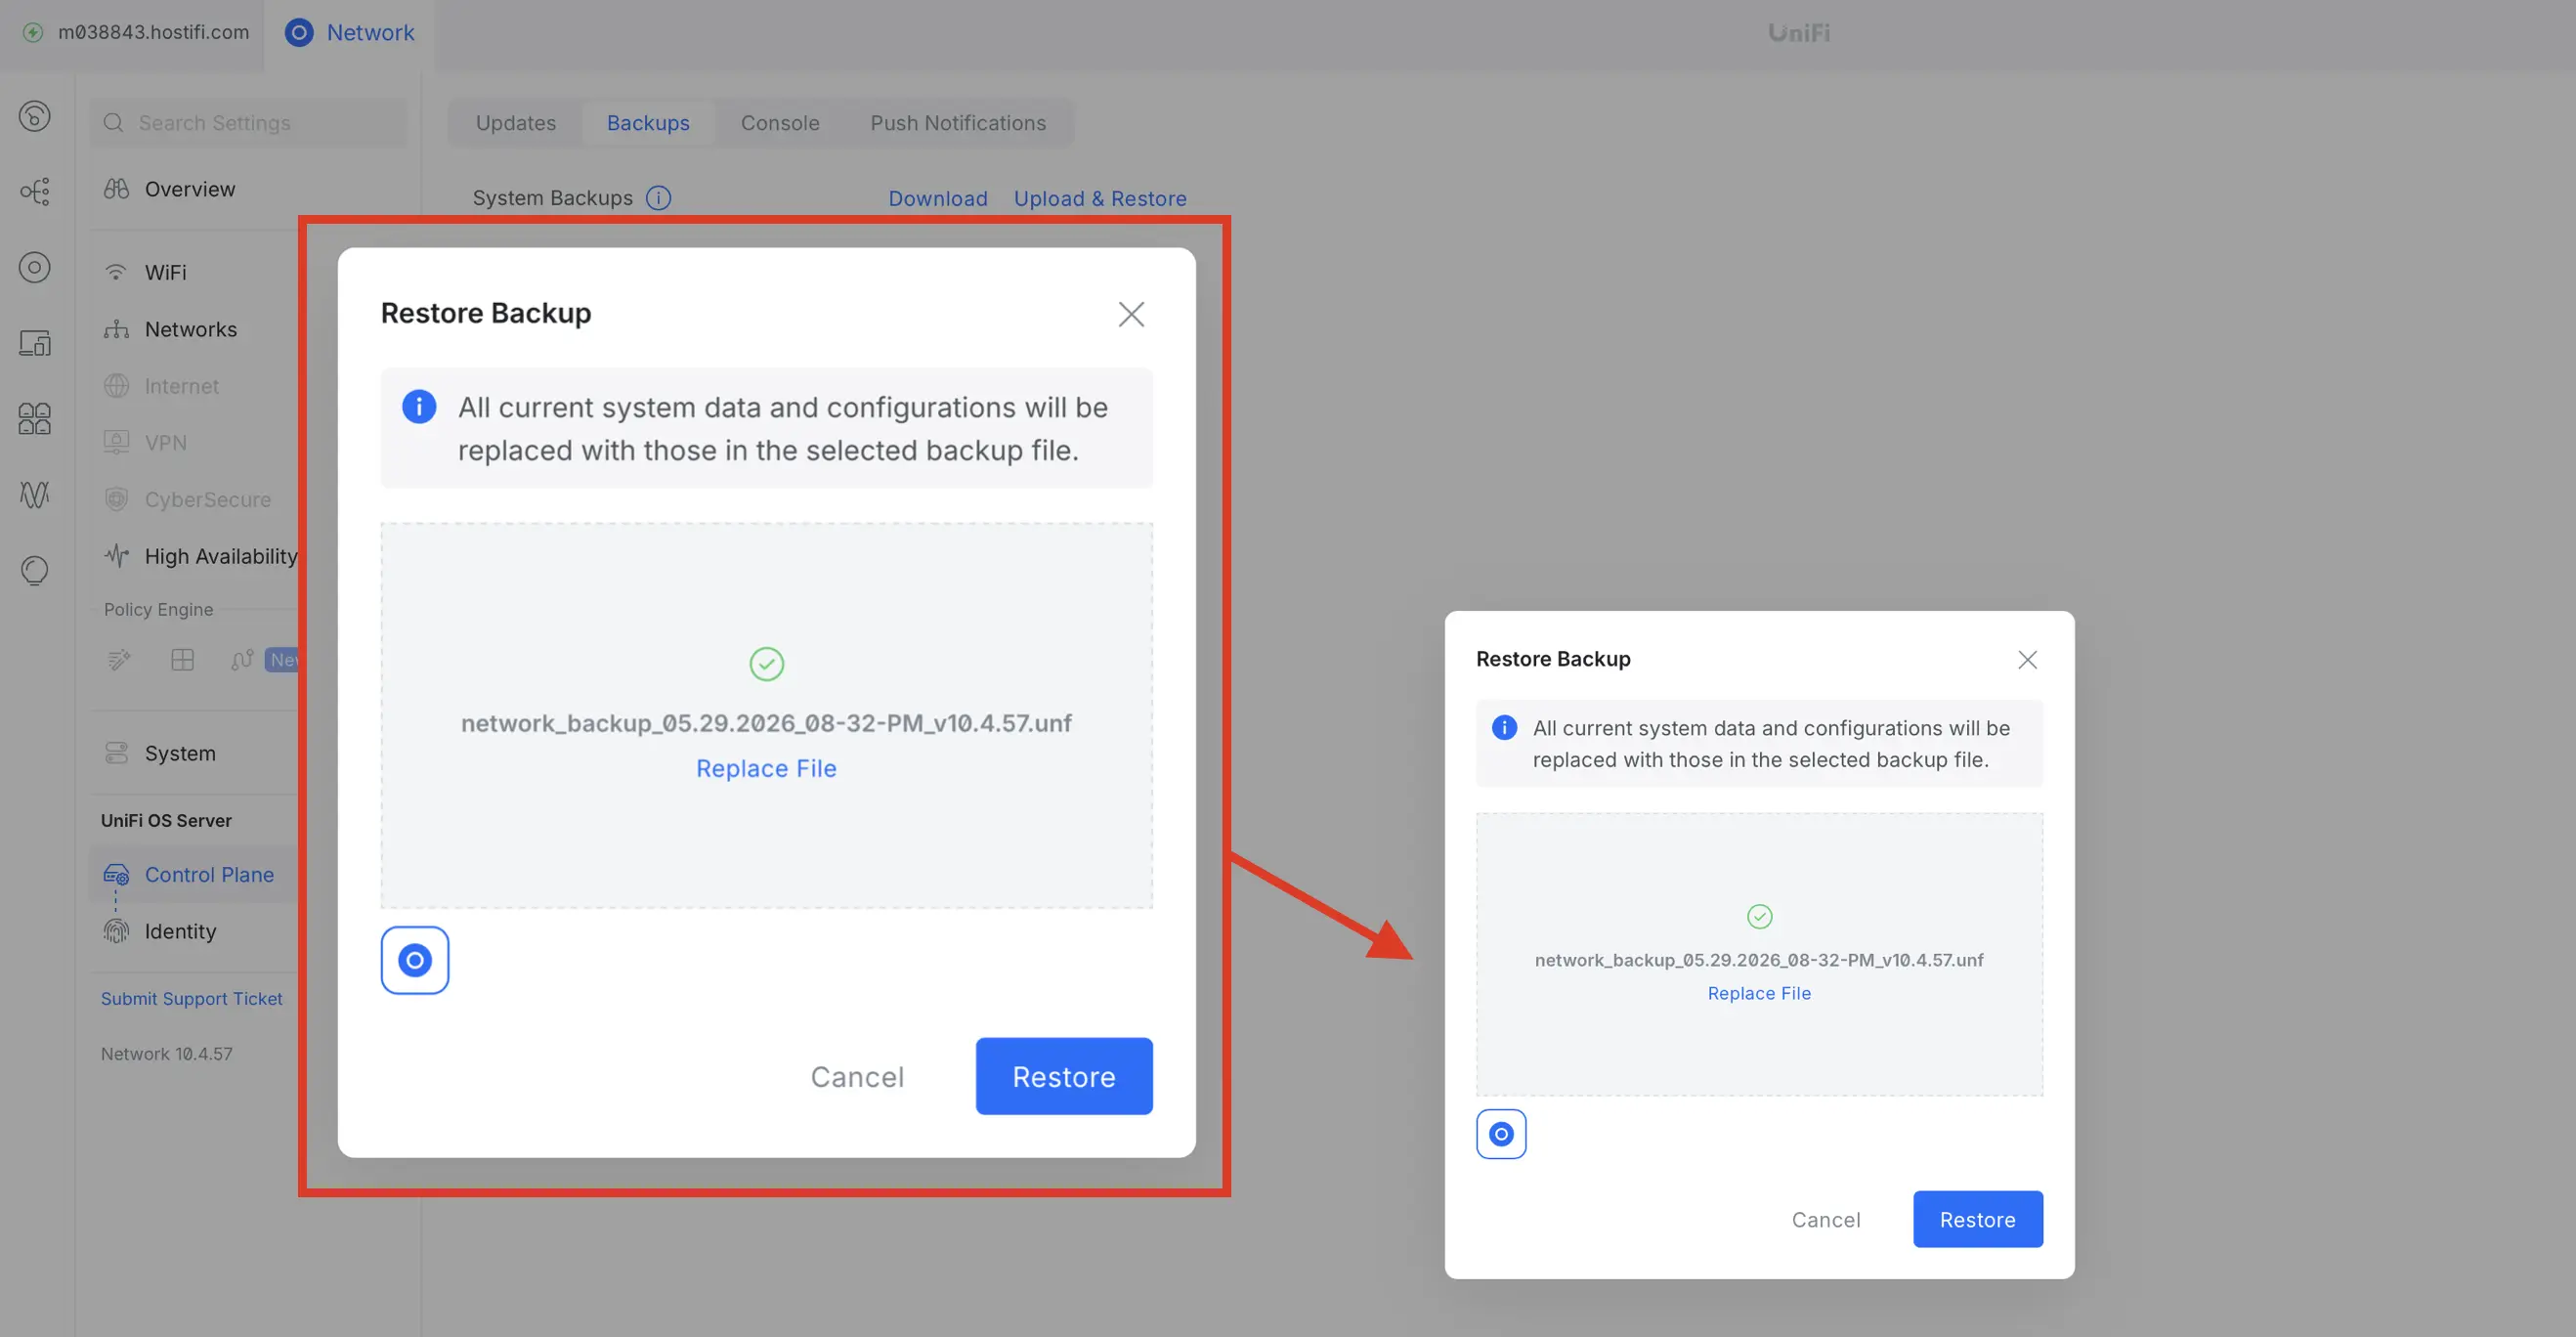
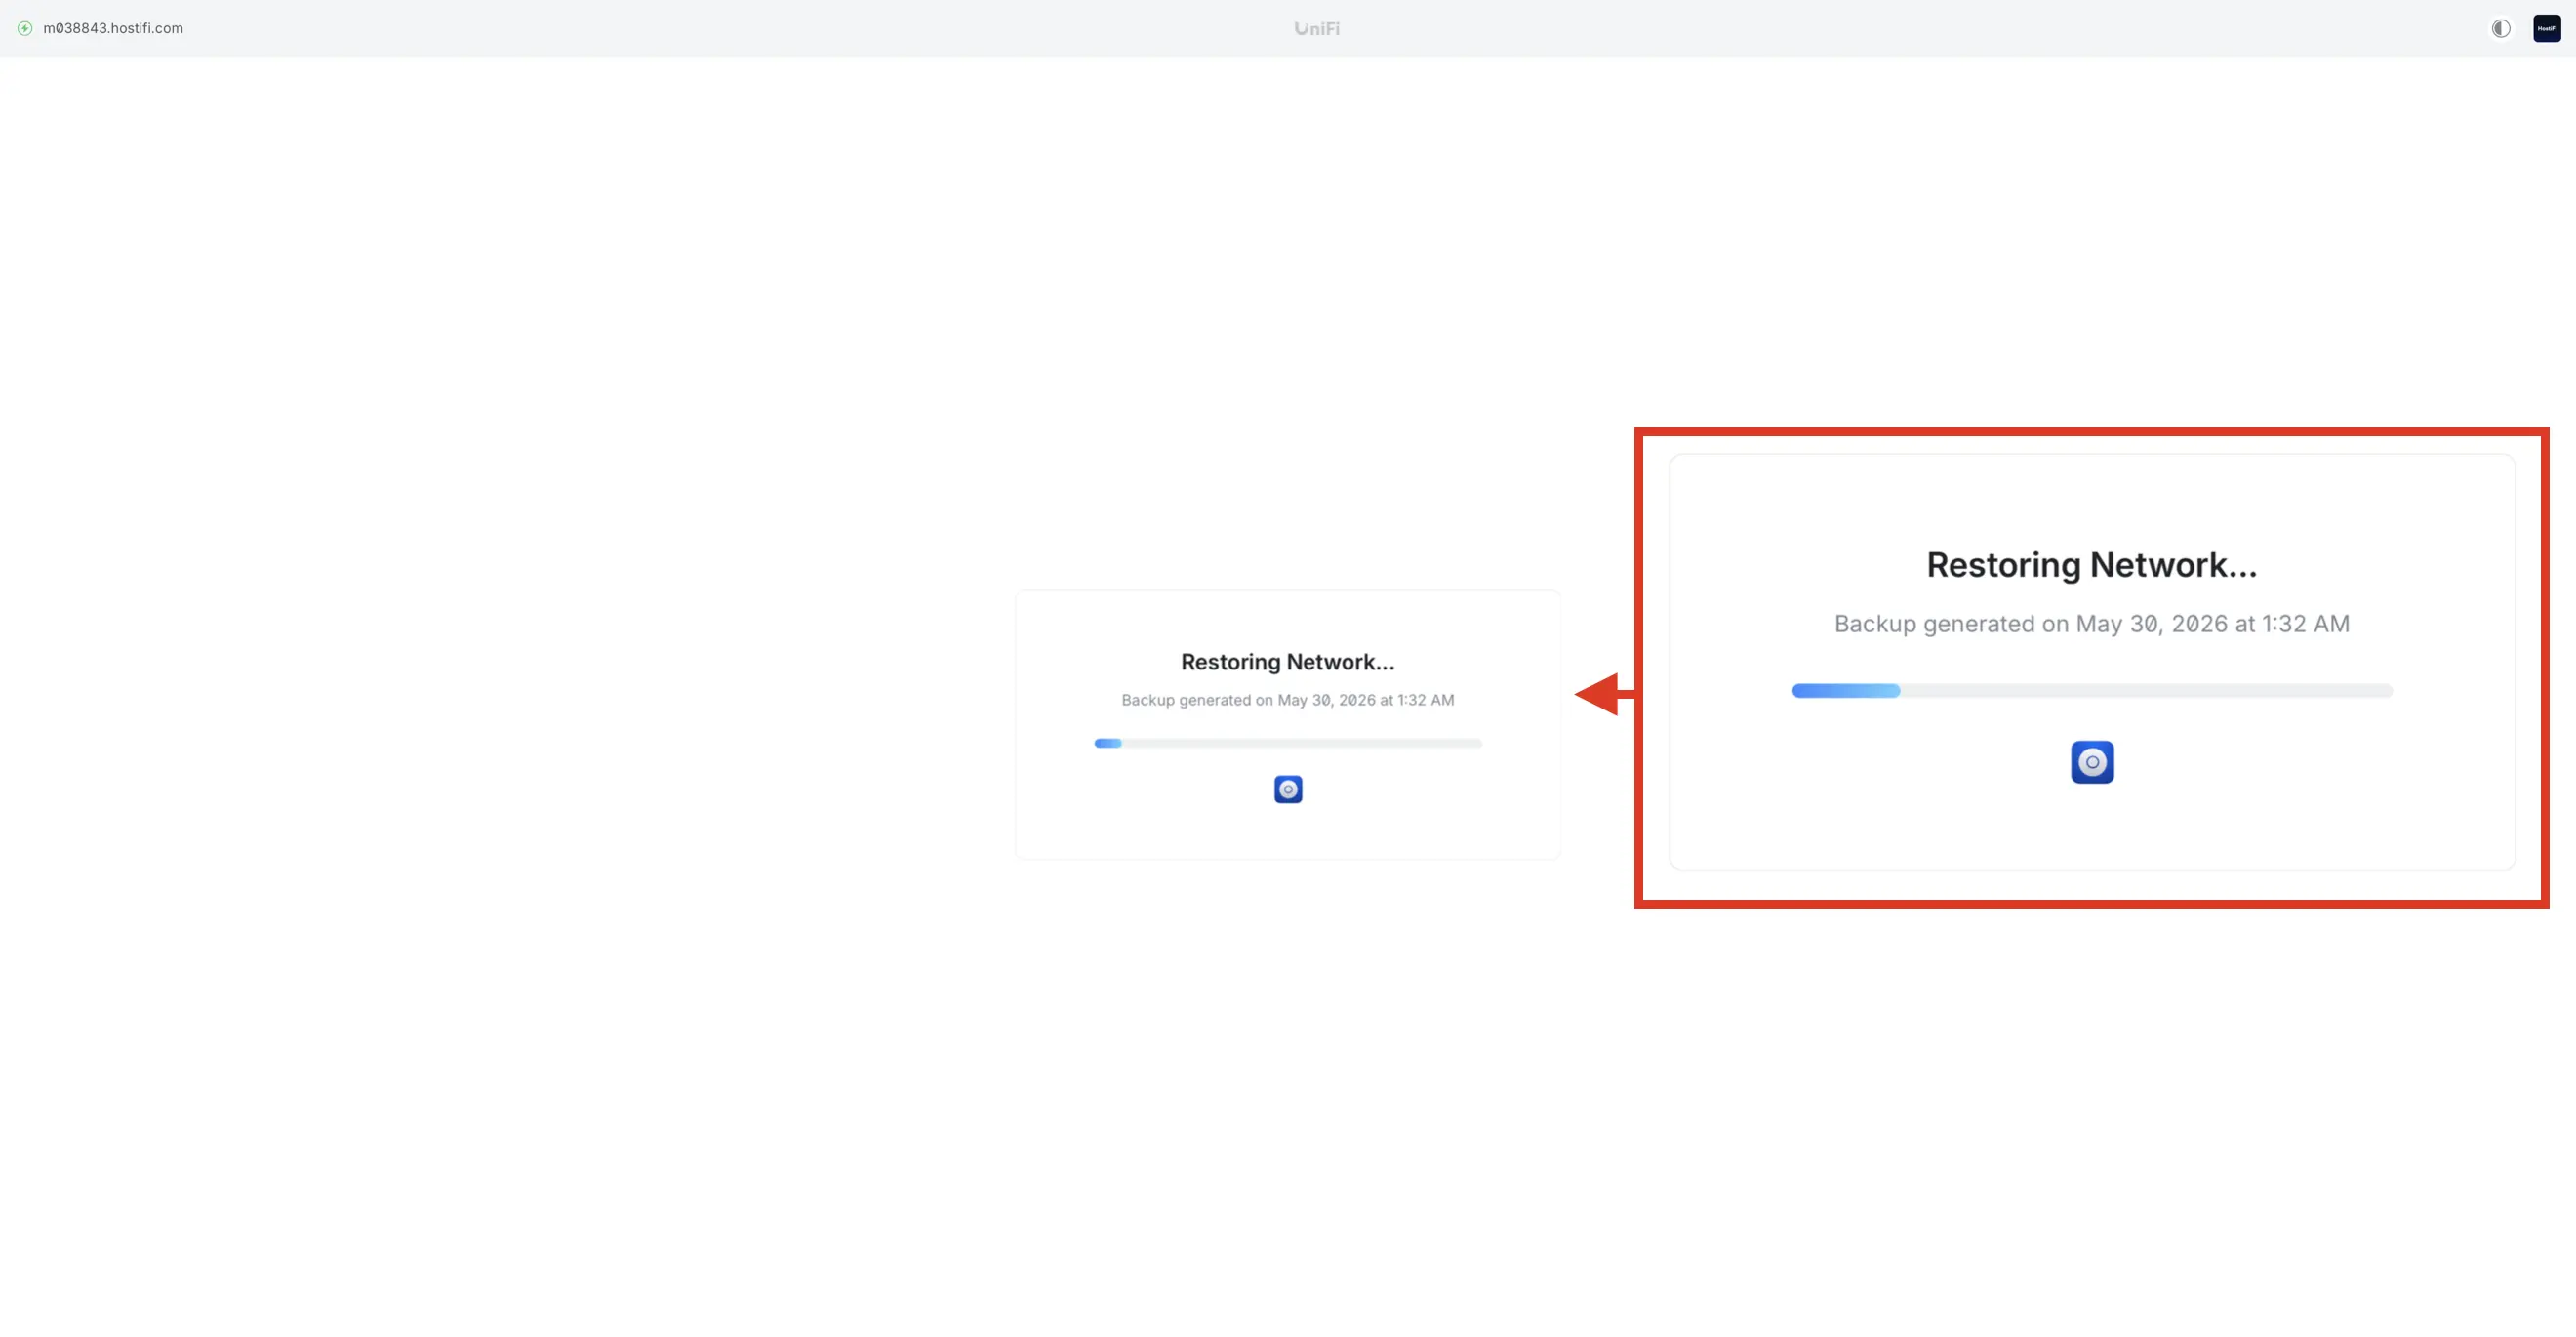
The restore process will then take 2-4 mins depending on backup size. Once done, move to the next step.
Important: If you are looking to install a UXG in place of a UDM etc, leave it in place until all the devices have been migrated over and are online.
Configure the Inform Host Override
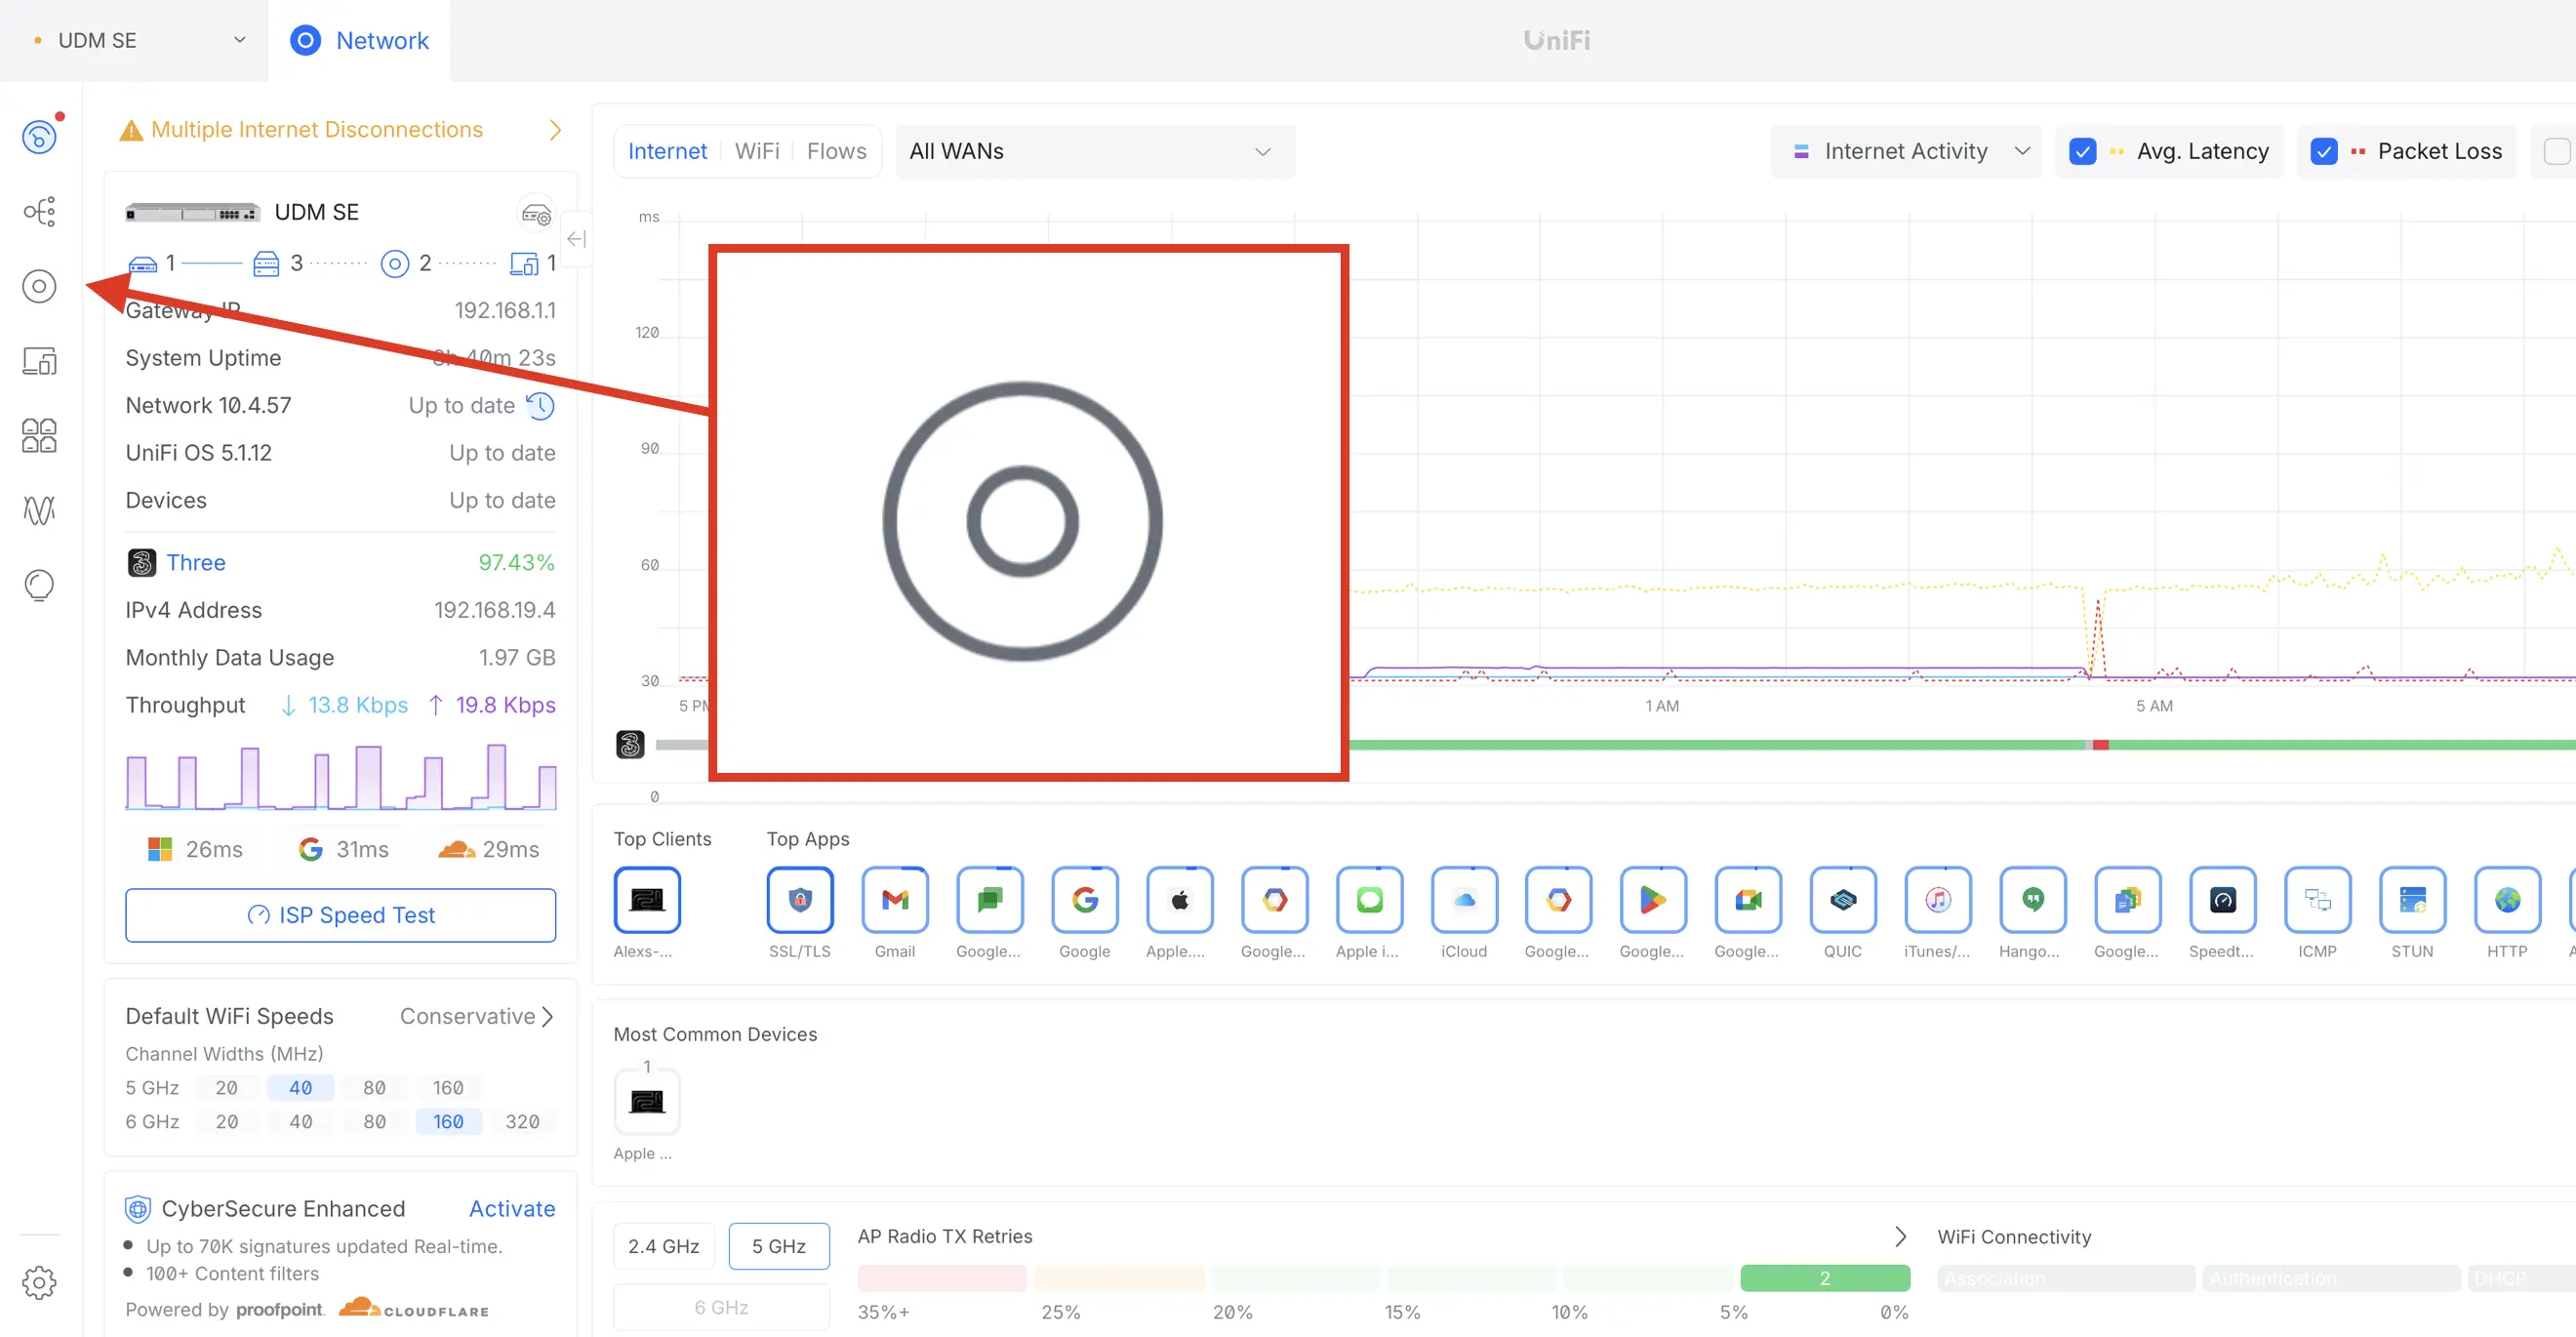
The final step is to tell the existing UniFi devices on the UniFi OS Console where the new UniFi OS Server is located. Log into the UniFi OS Console and go to Devices.
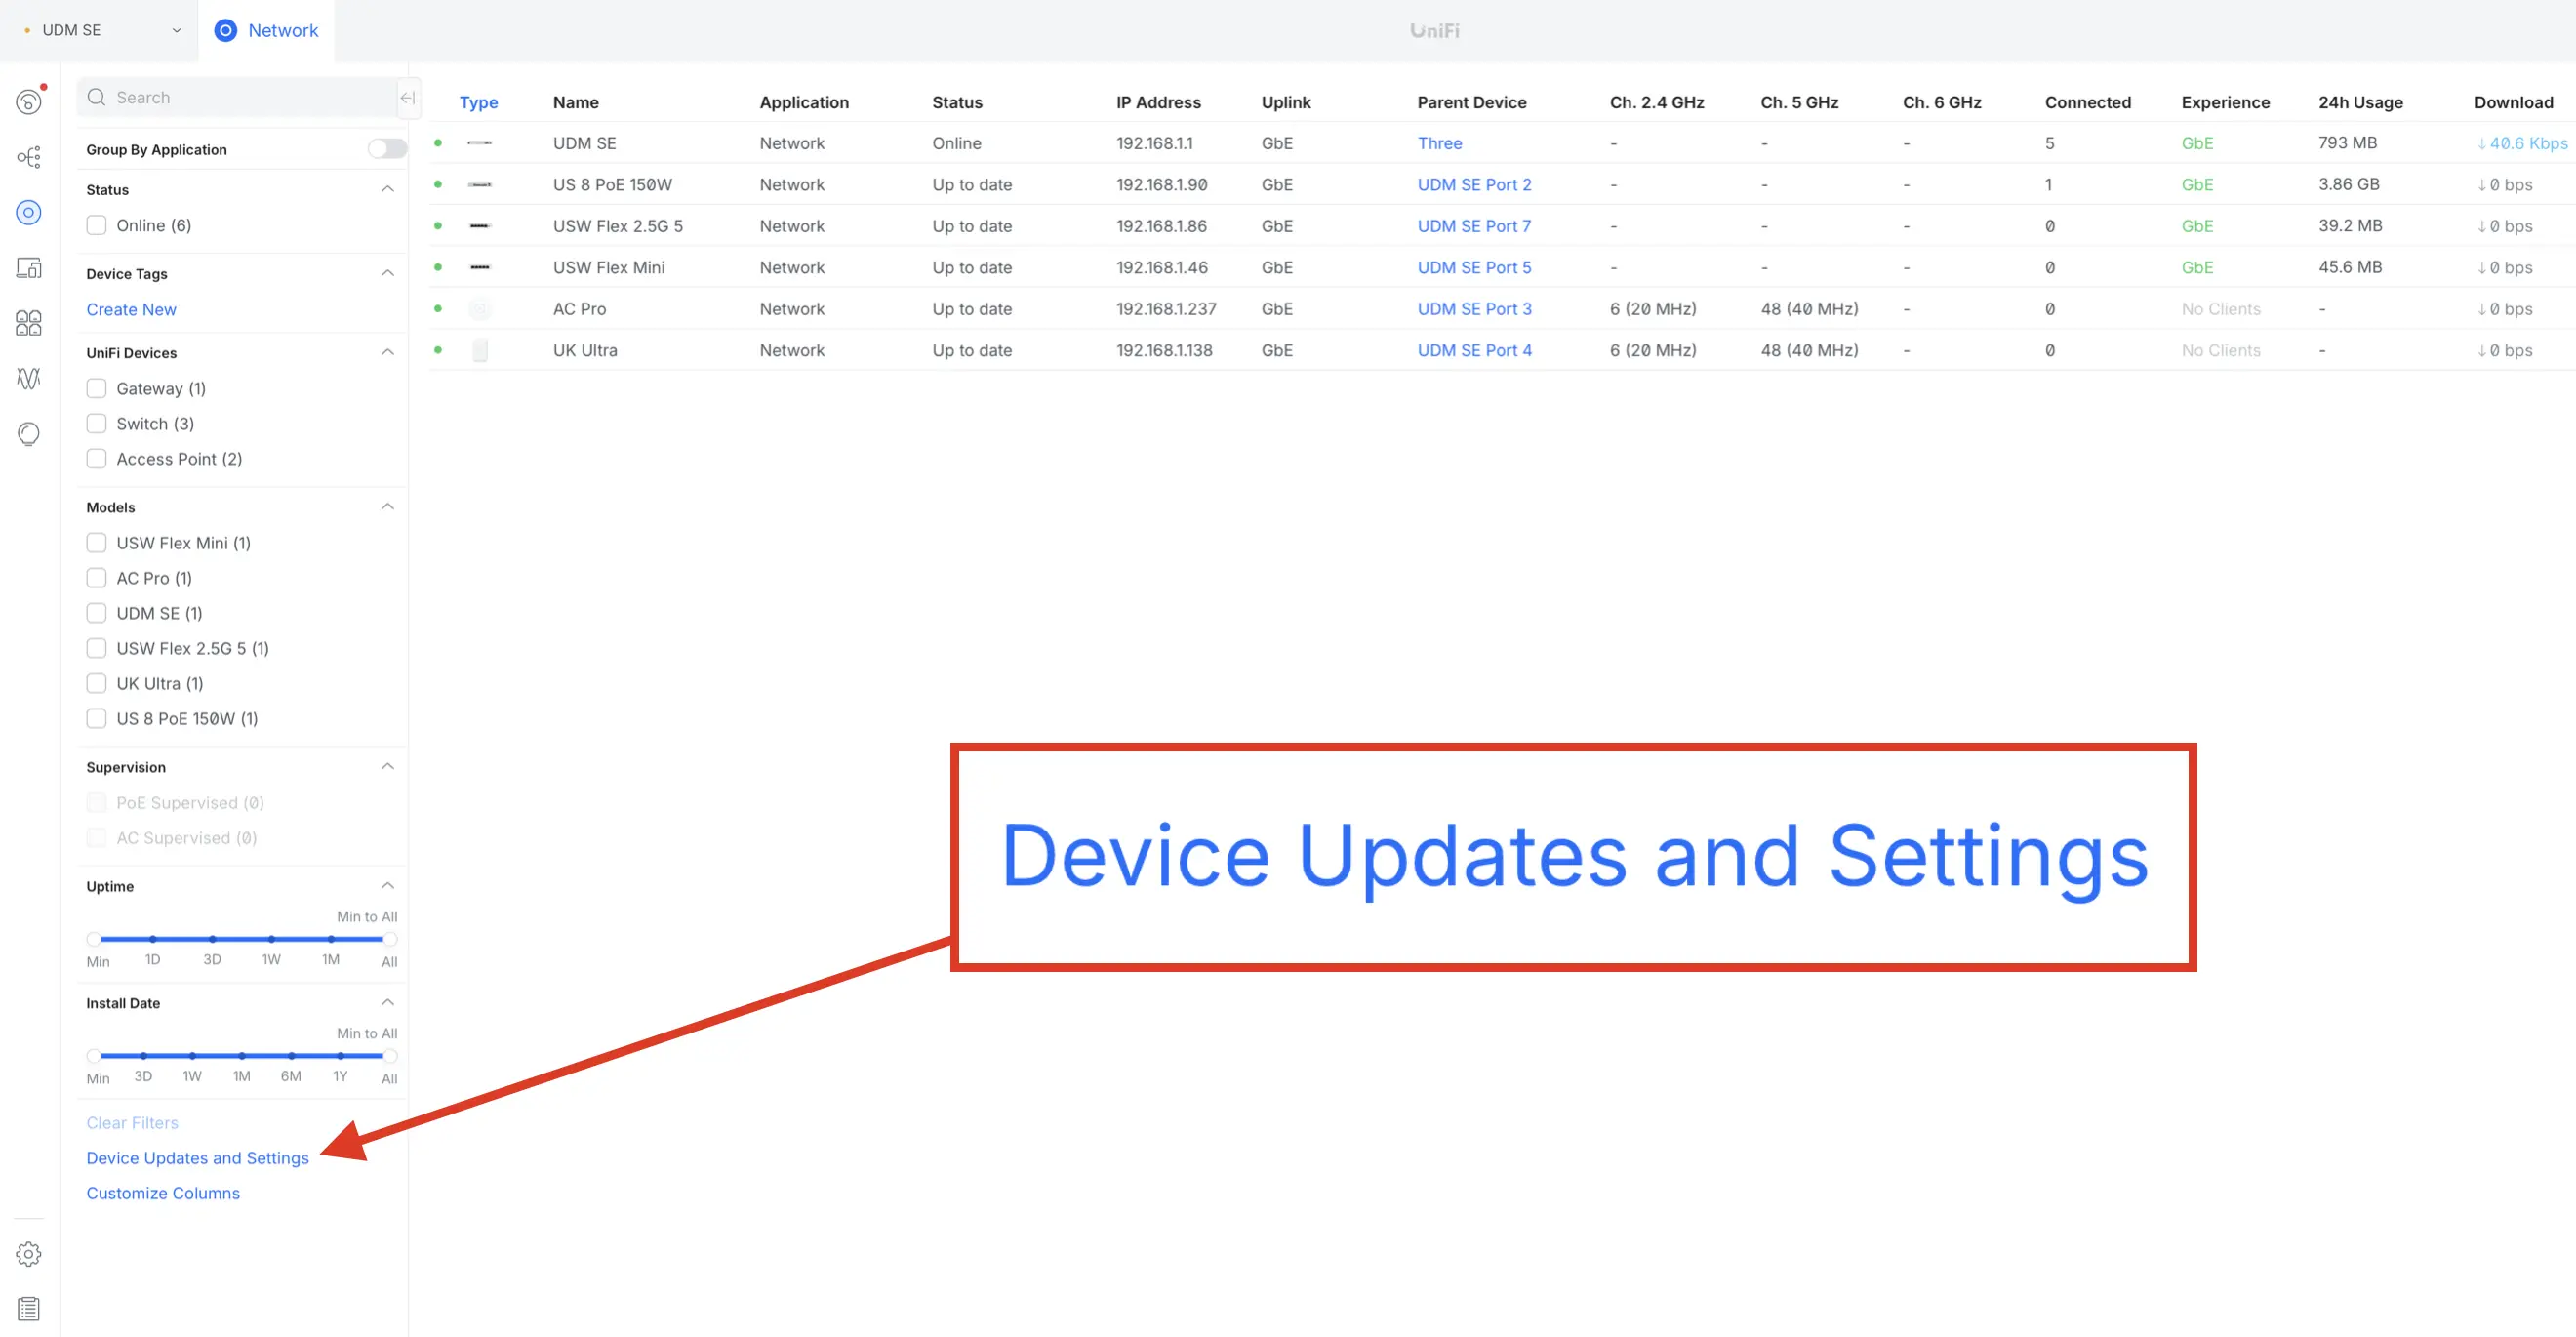
In the Devices page, there is a link to Device Updates and Settings in the bottom left, click on this to open up a side panel.
Once the side panel is open, click Device SSH Settings to open more settings and then tick the box for Inform Host Override and click Confirm.
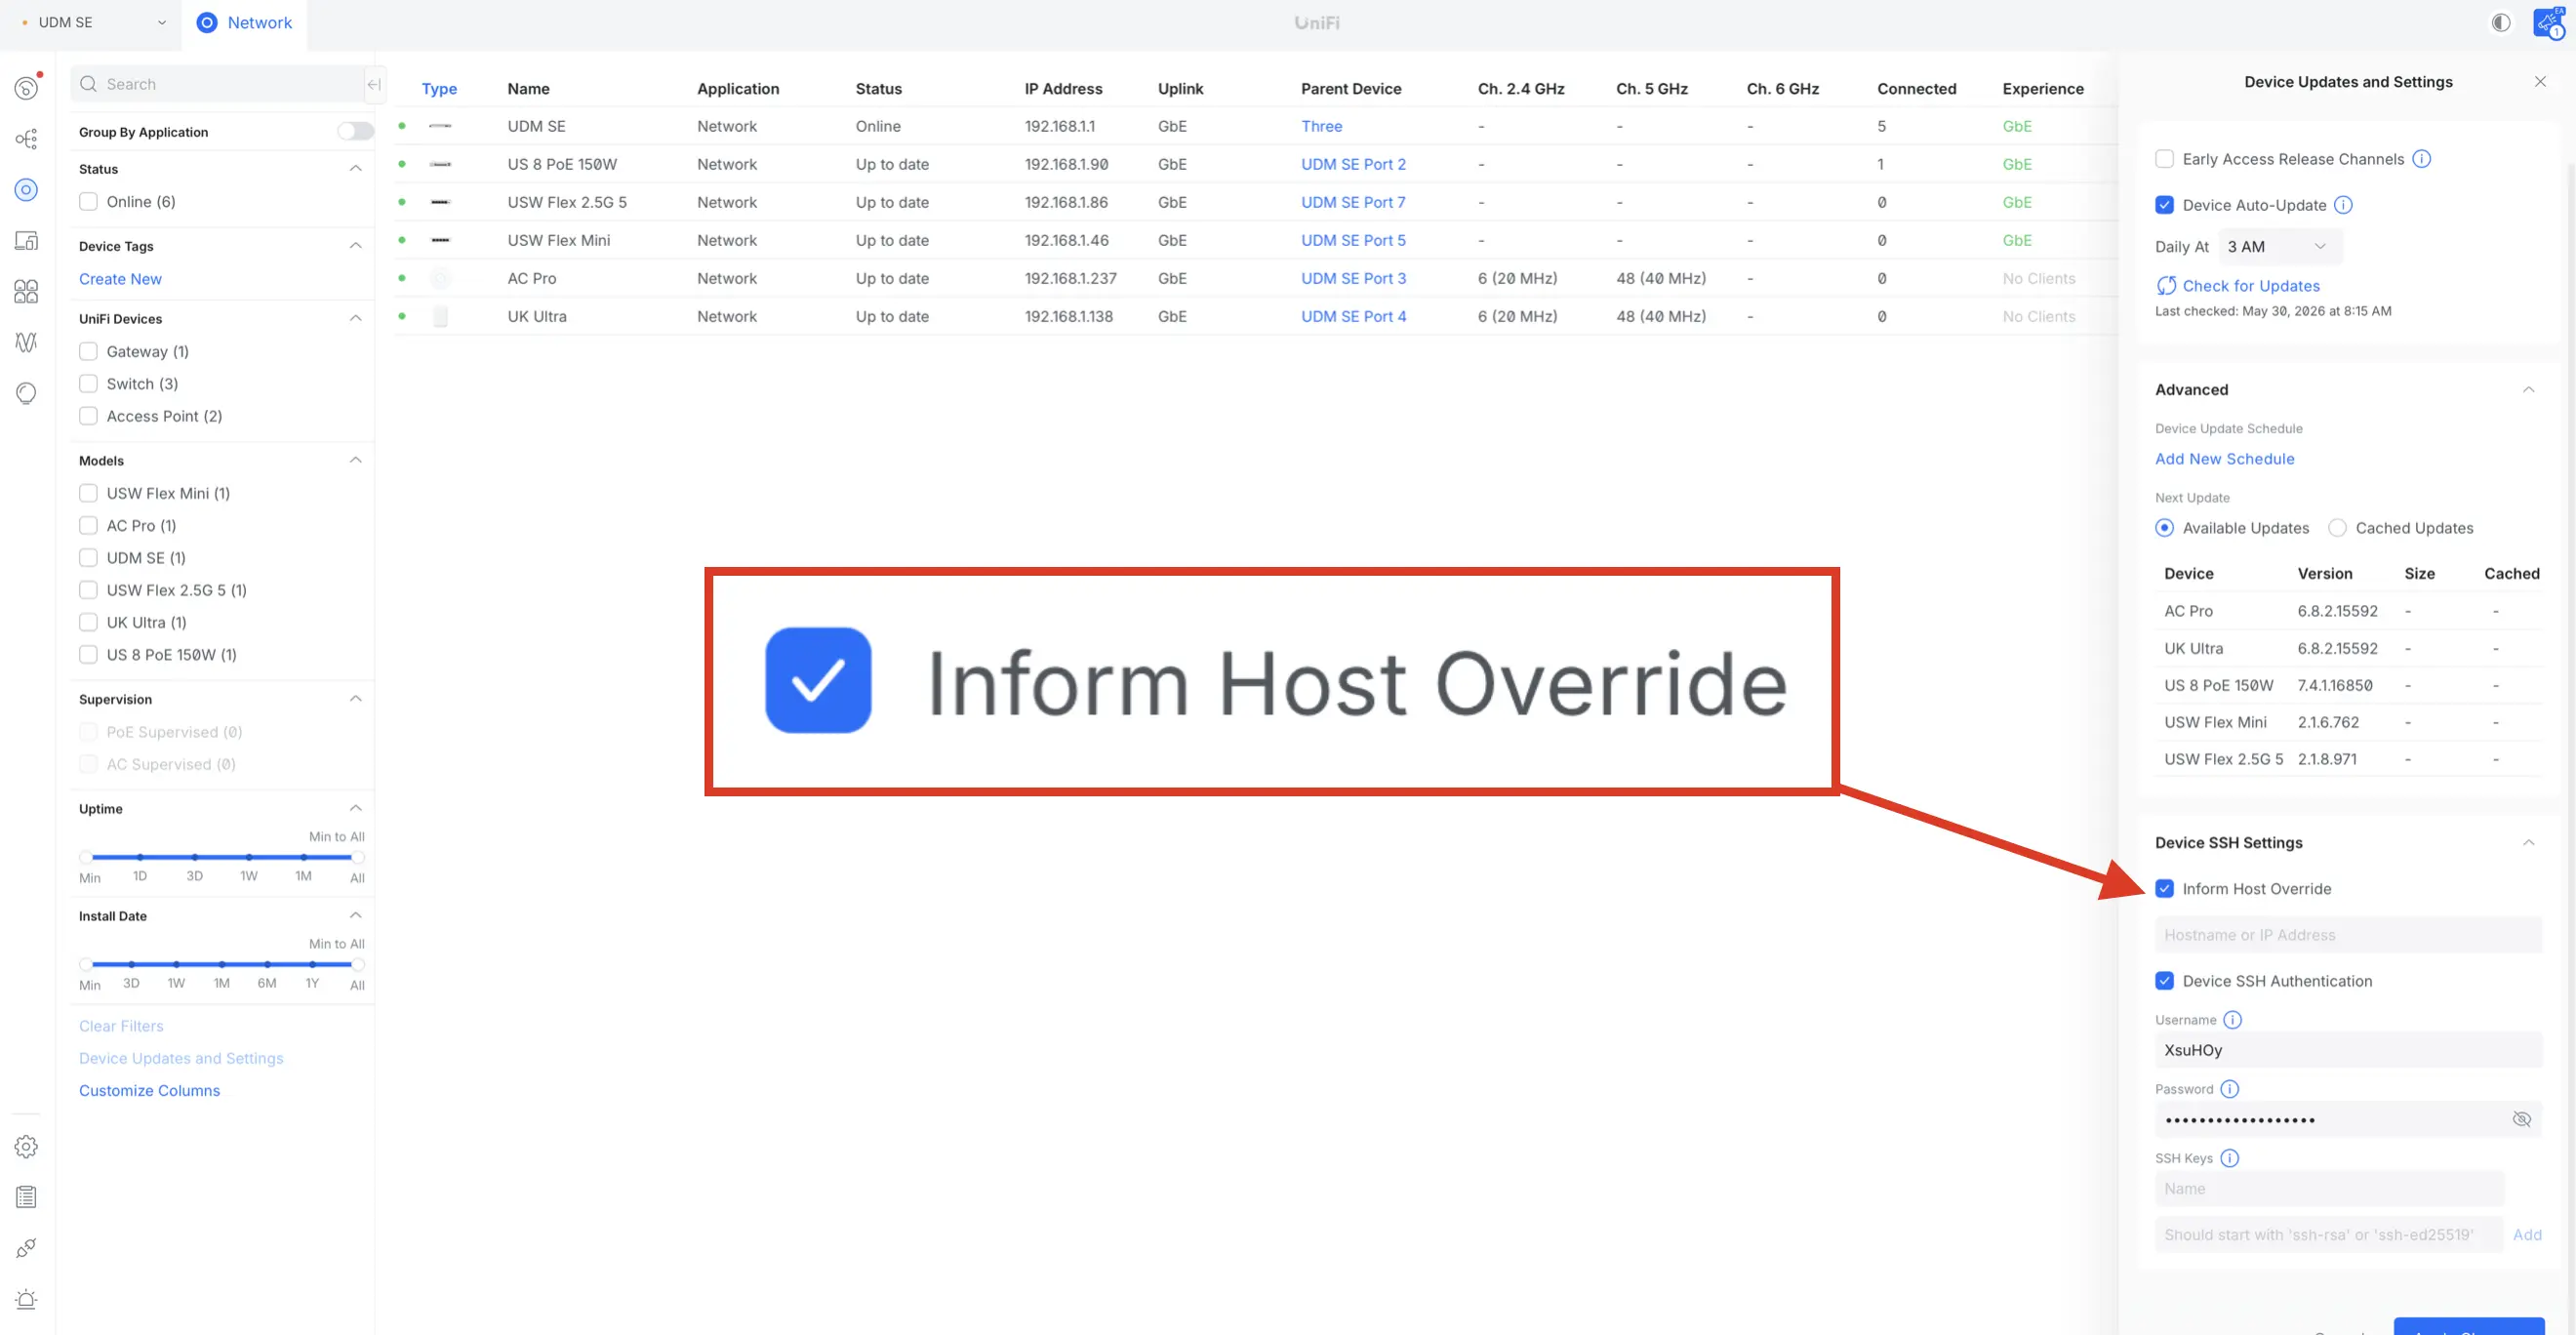
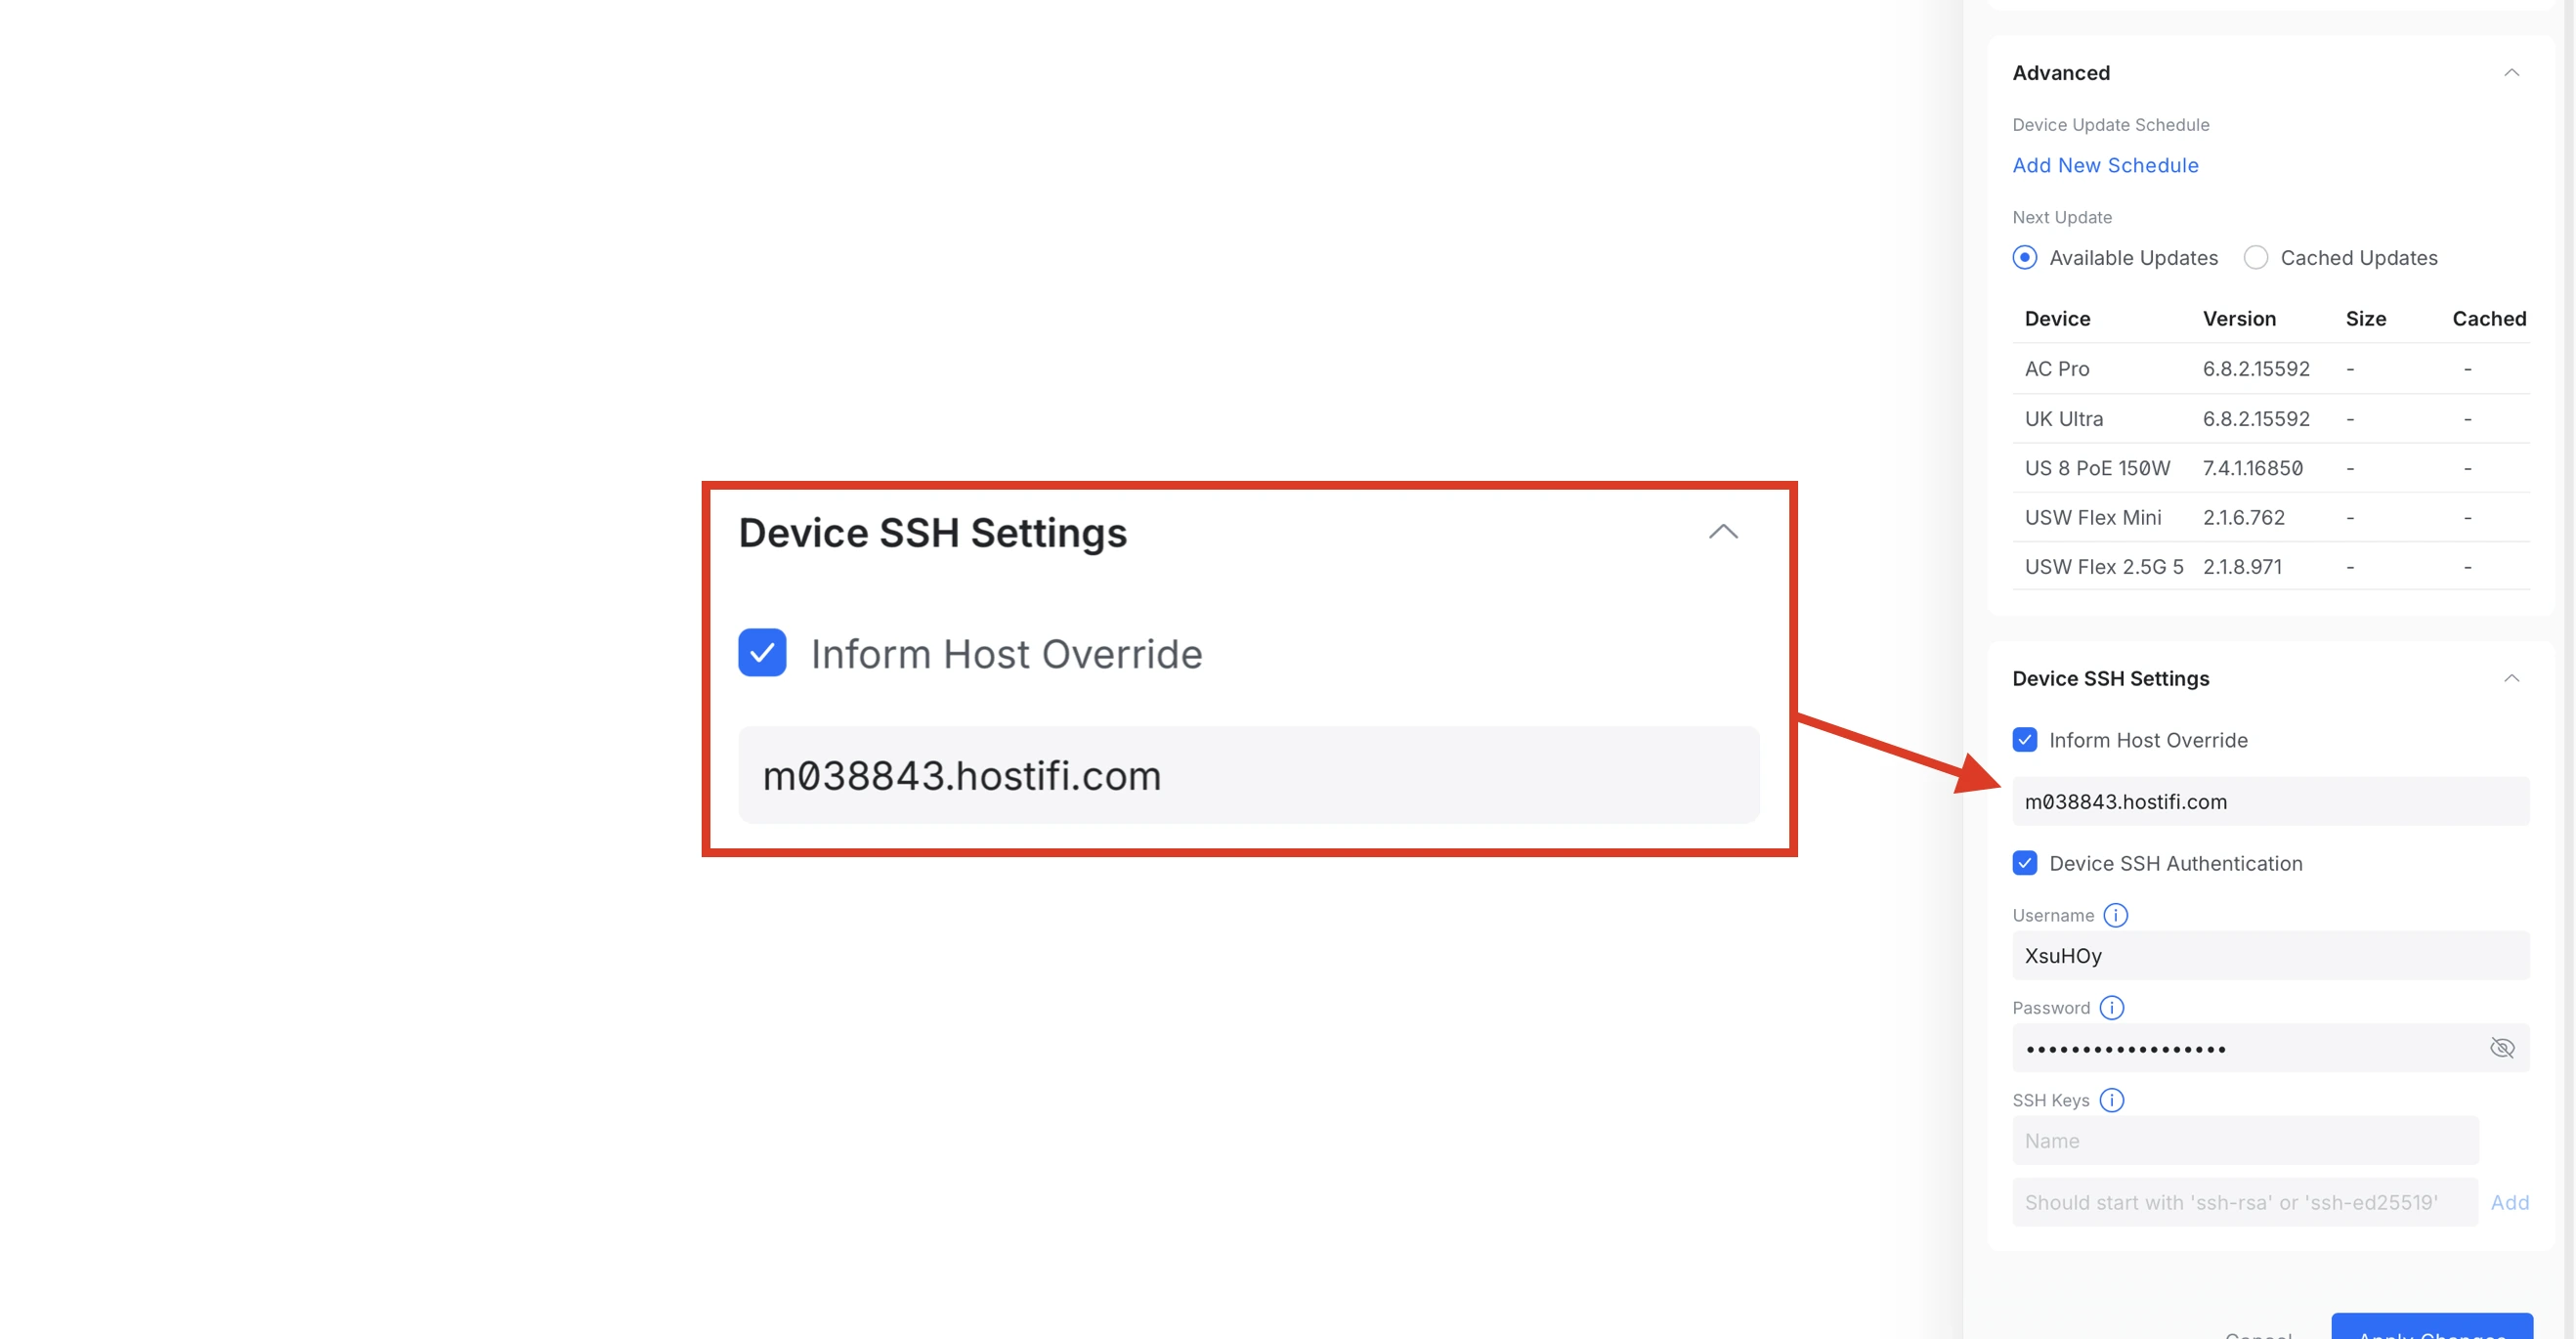
Next, enter the hostname for the new HostiFi UniFi OS Server you have setup.
Important: This section is extremely critical, as any mistake can cause the UniFi devices to try and connect to any URL or IP address that is entered, even if it is wrong. If a wrong hostname is entered, those UniFi devices will go offline and will need local SSH access to rectify or to be factory reset.
The hostname that needs to be entered can be found at app.hostifi.com under the details for your server. The one for this guide is using an example of m038843.hostifi.com, but your server will have a different hostname. This needs to be entered as shown, without http:// or https:// and without any port afterwards. Once the hostname is entered, double check everything and click Apply Changes.
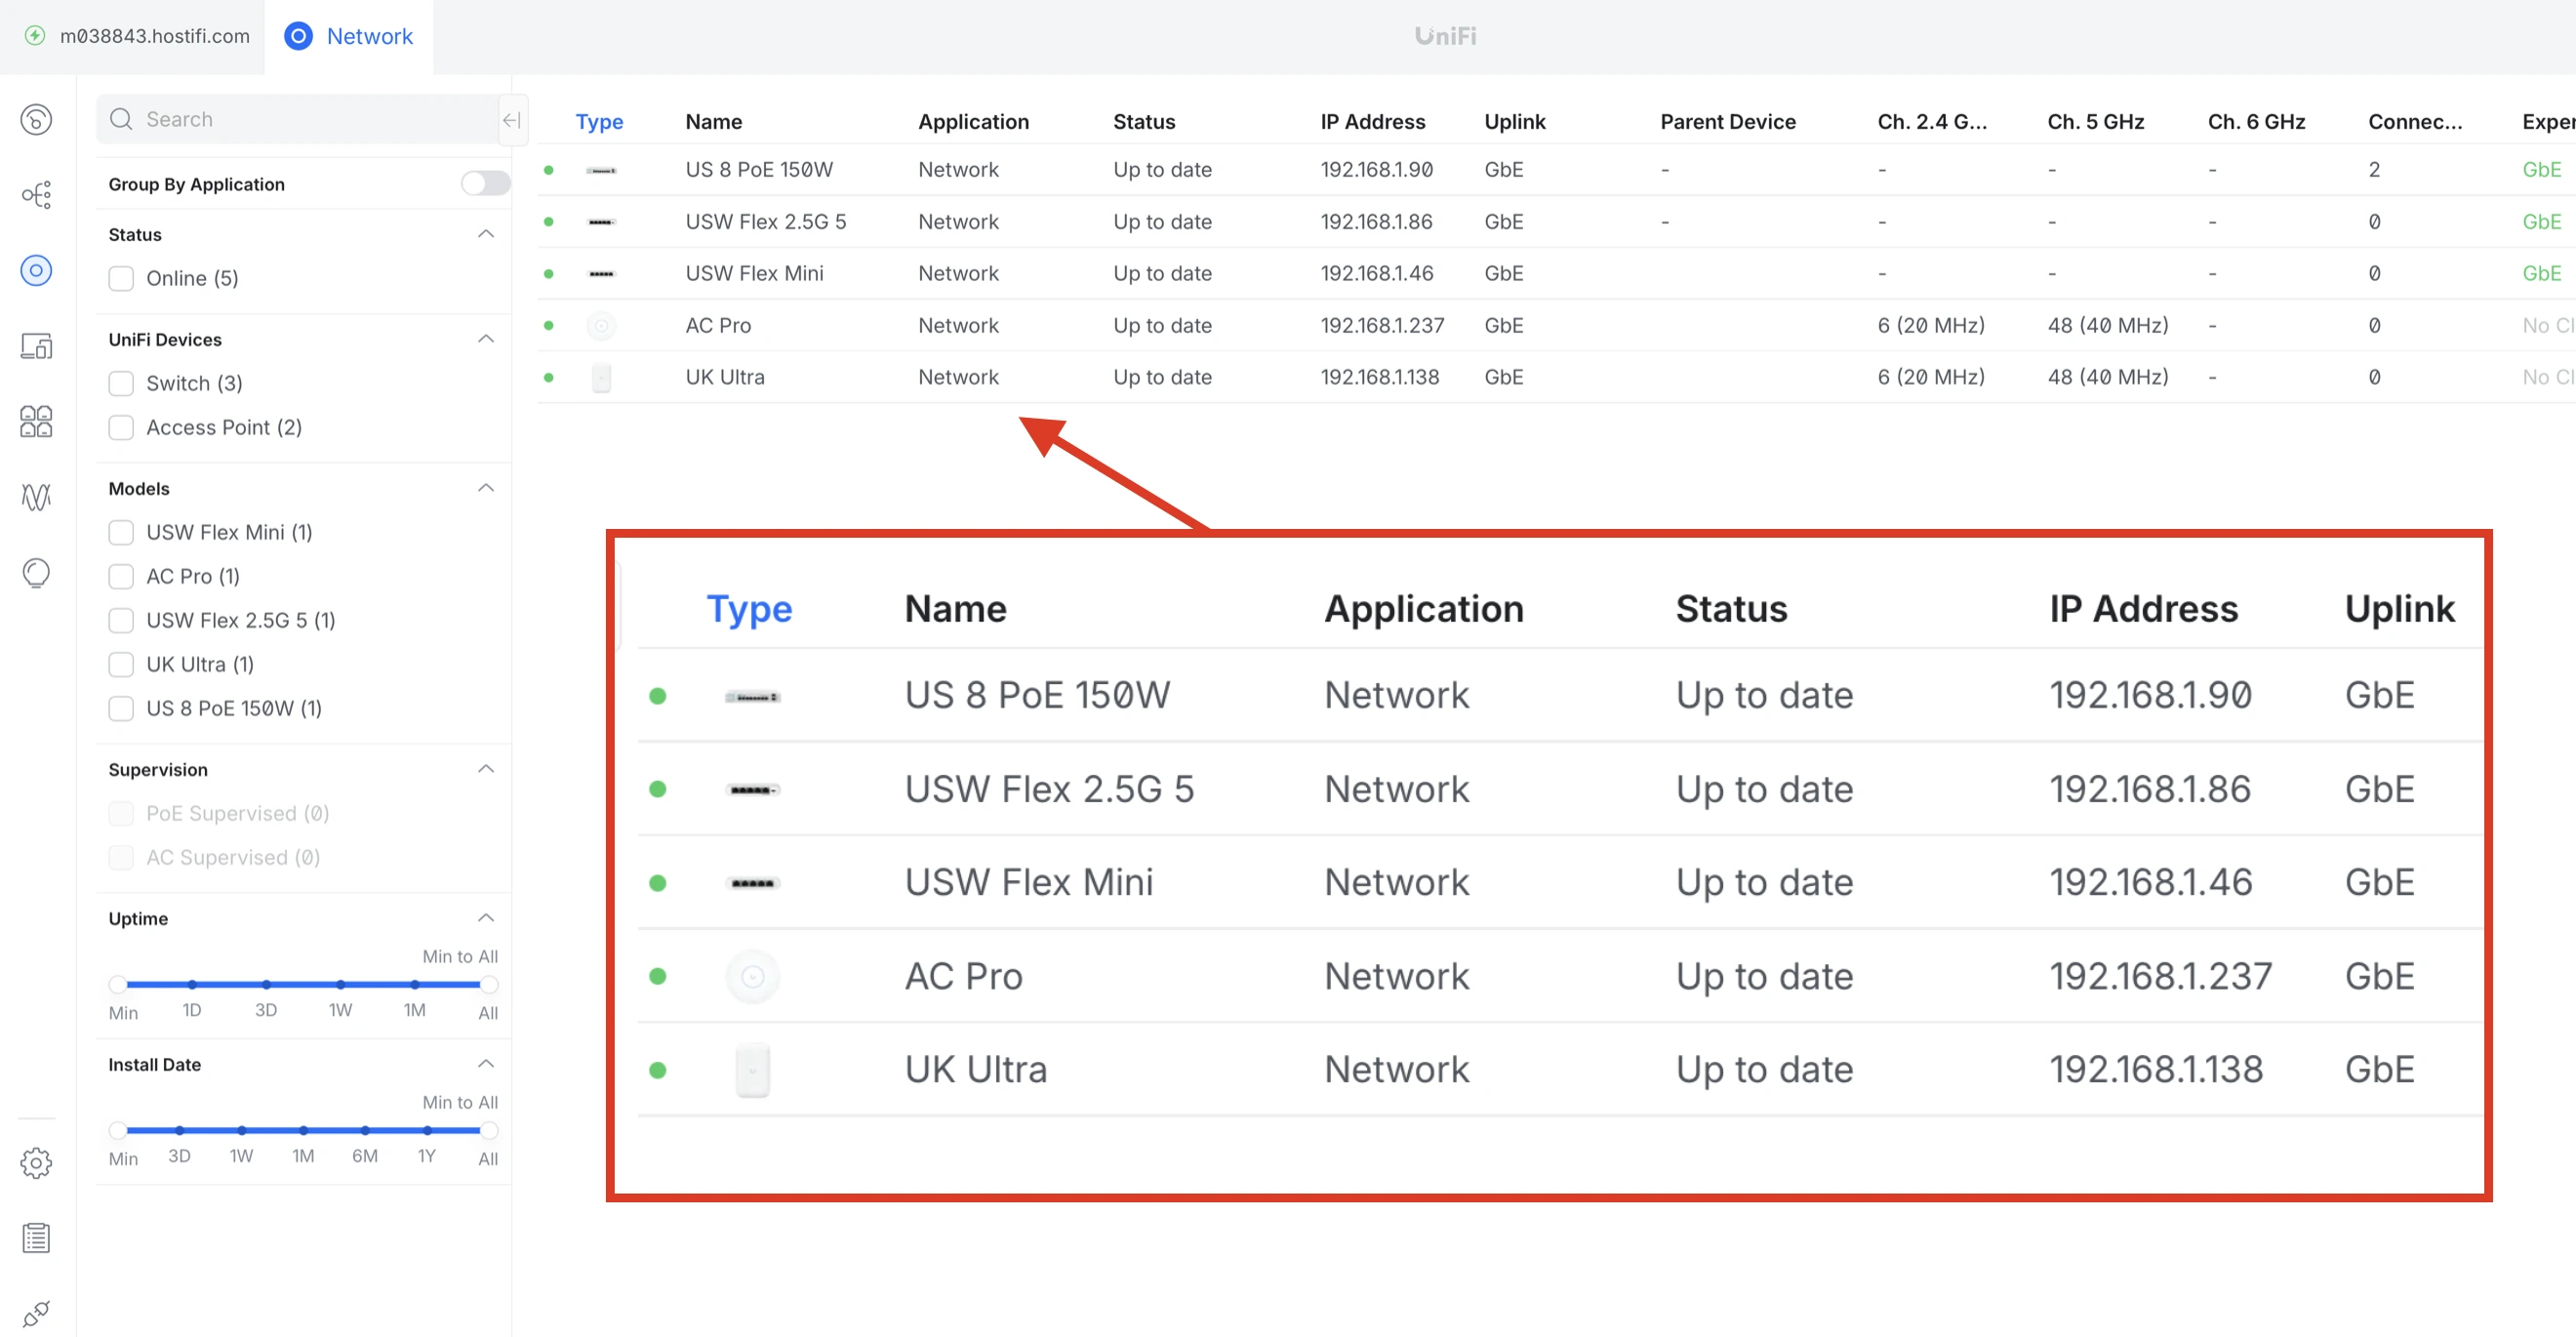
After a few minutes, all of the UniFi devices apart from the UDM SE will come online in the new HostiFi UniFi OS Server.
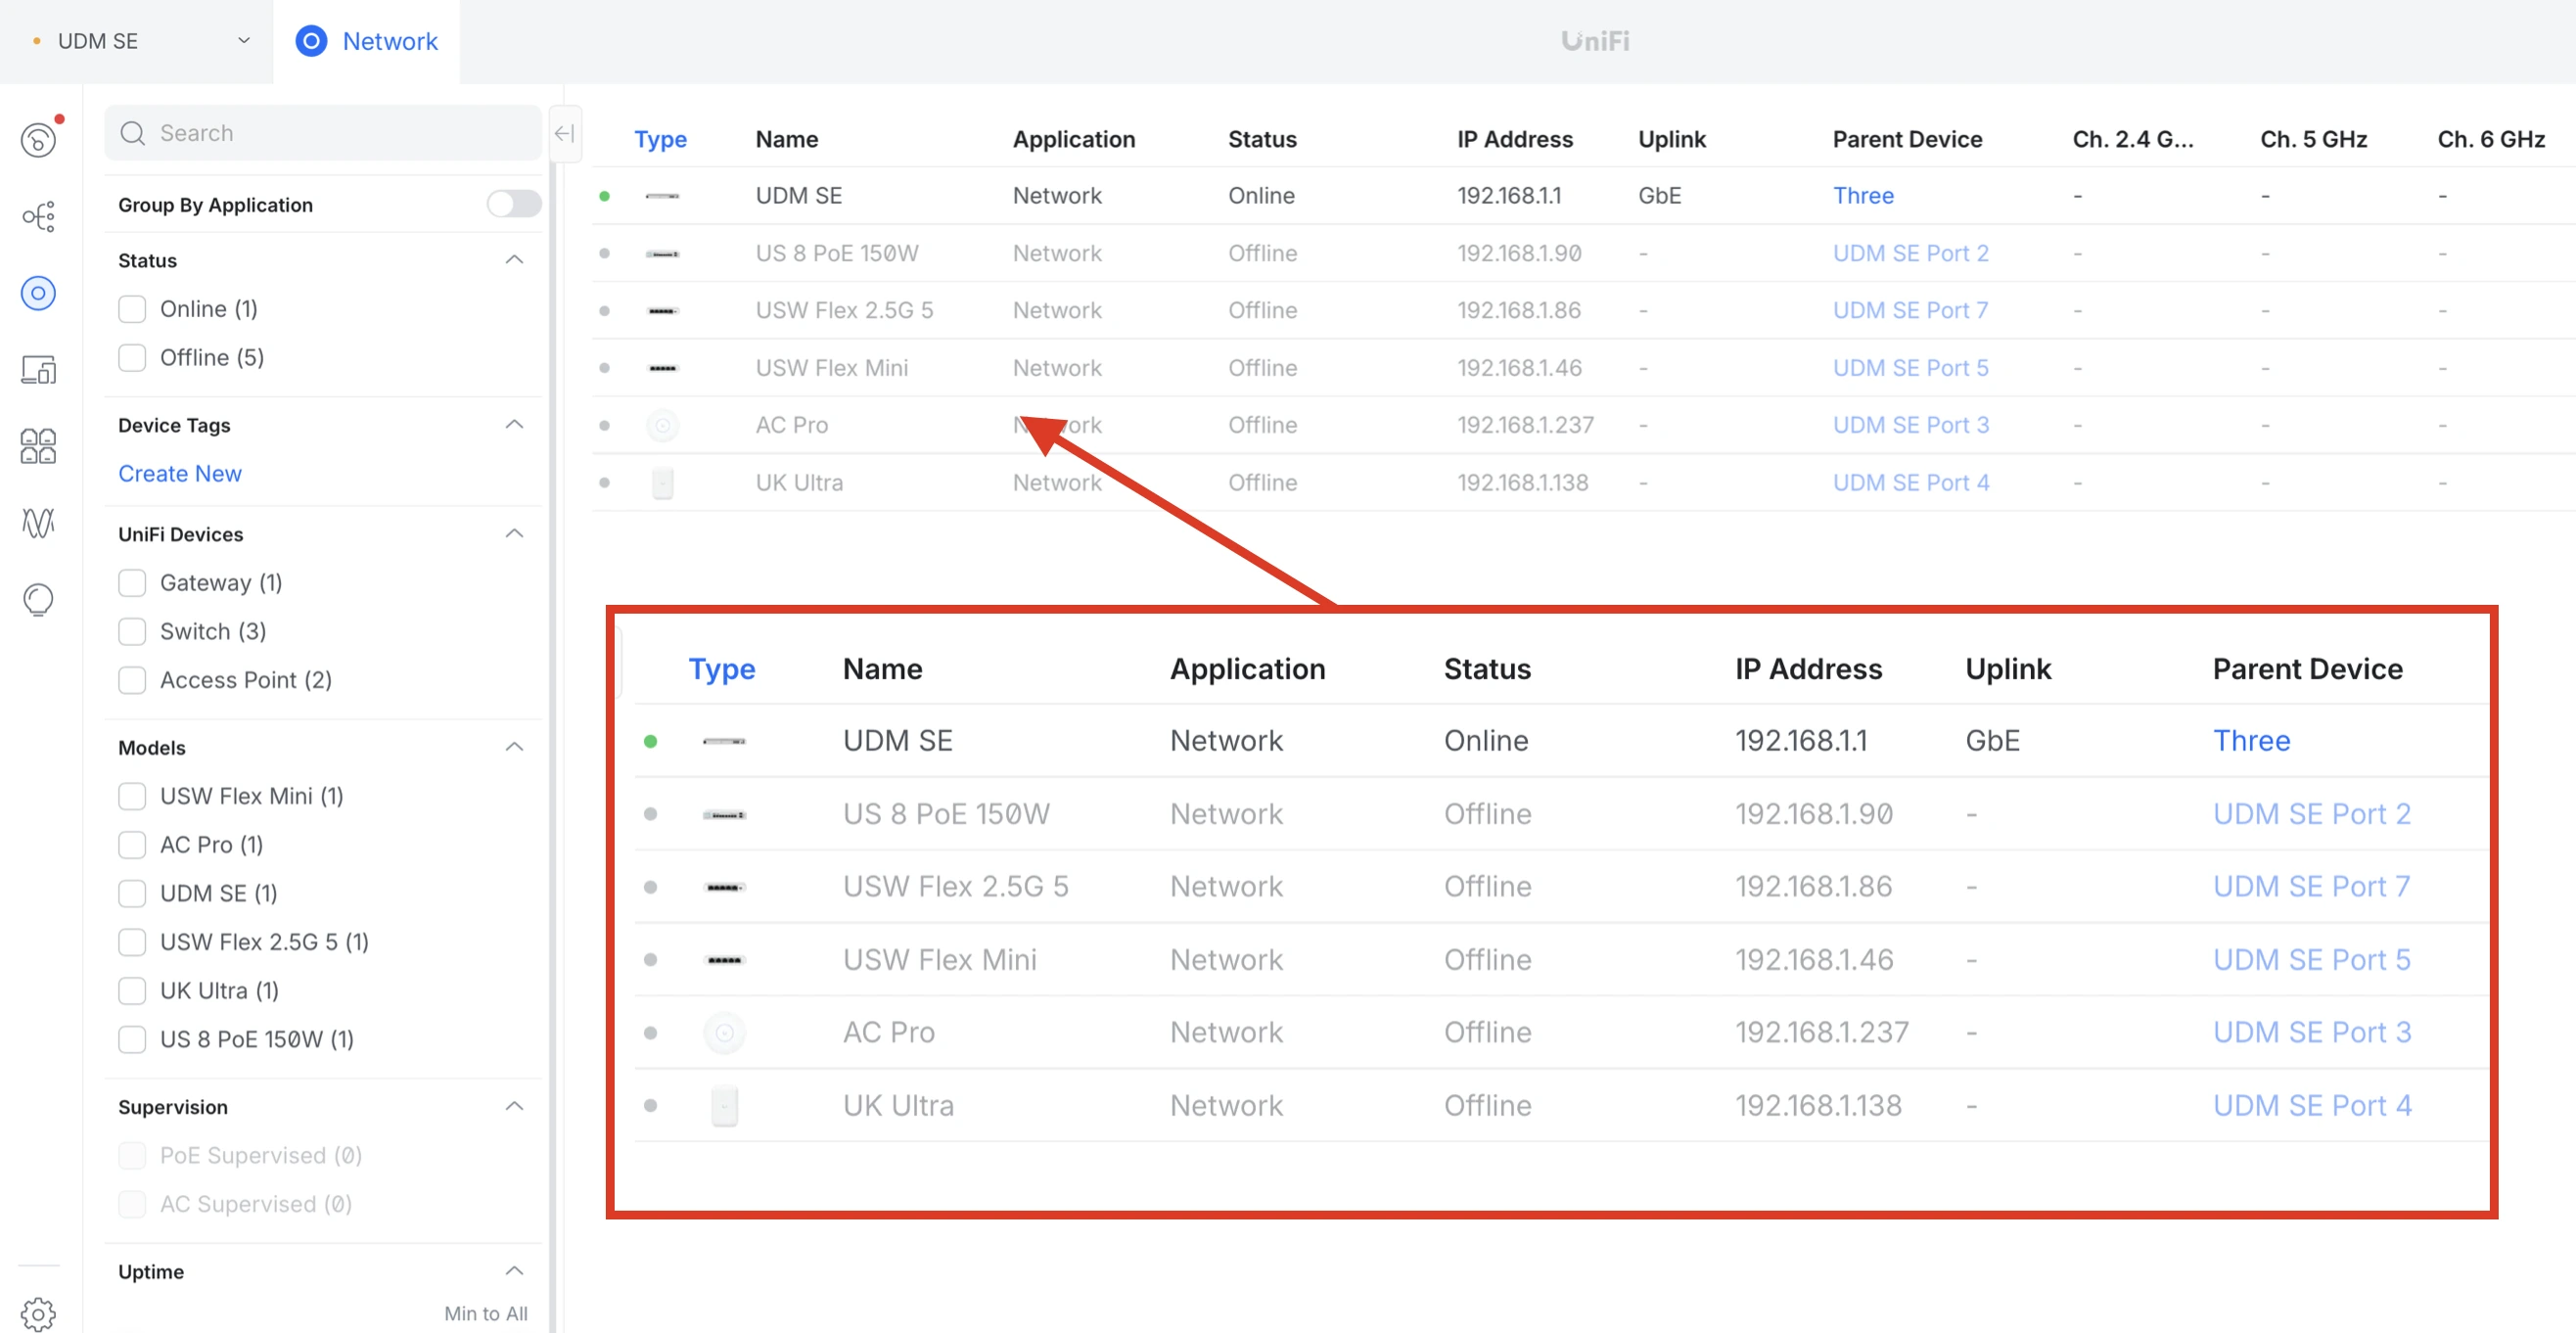
During this time, leave the UDM SE powered on and connected until the devices have dropped offline in the UniFi dashboard on the UDM SE.
About HostiFi
HostiFi provides hosting for Ubiquiti software platforms, with servers for UniFi and UISP. We also offer network consulting, with HostiFi Professional Services.

Get the Ubiquiti Top 20
Each month our team sifts through Ubiquiti news and content from around the web and delivers 20 of our favorite links to your inbox.
View recent issues
No spam. Unsubscribe anytime.
🤩
Discovered 3+ things that I did not know and will have a material impact on my business.
Newsletter Subscriber
🤩
All the info I want/need in a single clean thread! Perfect!
Newsletter Subscriber
🤩
Providing super valuable information to keep the community in the know. Awesome links page, Thank You.
Newsletter Subscriber