Can Thread interfere with WiFi frequencies?
Learn what frequencies Thread uses and if this impacts WiFi
June 19, 2026
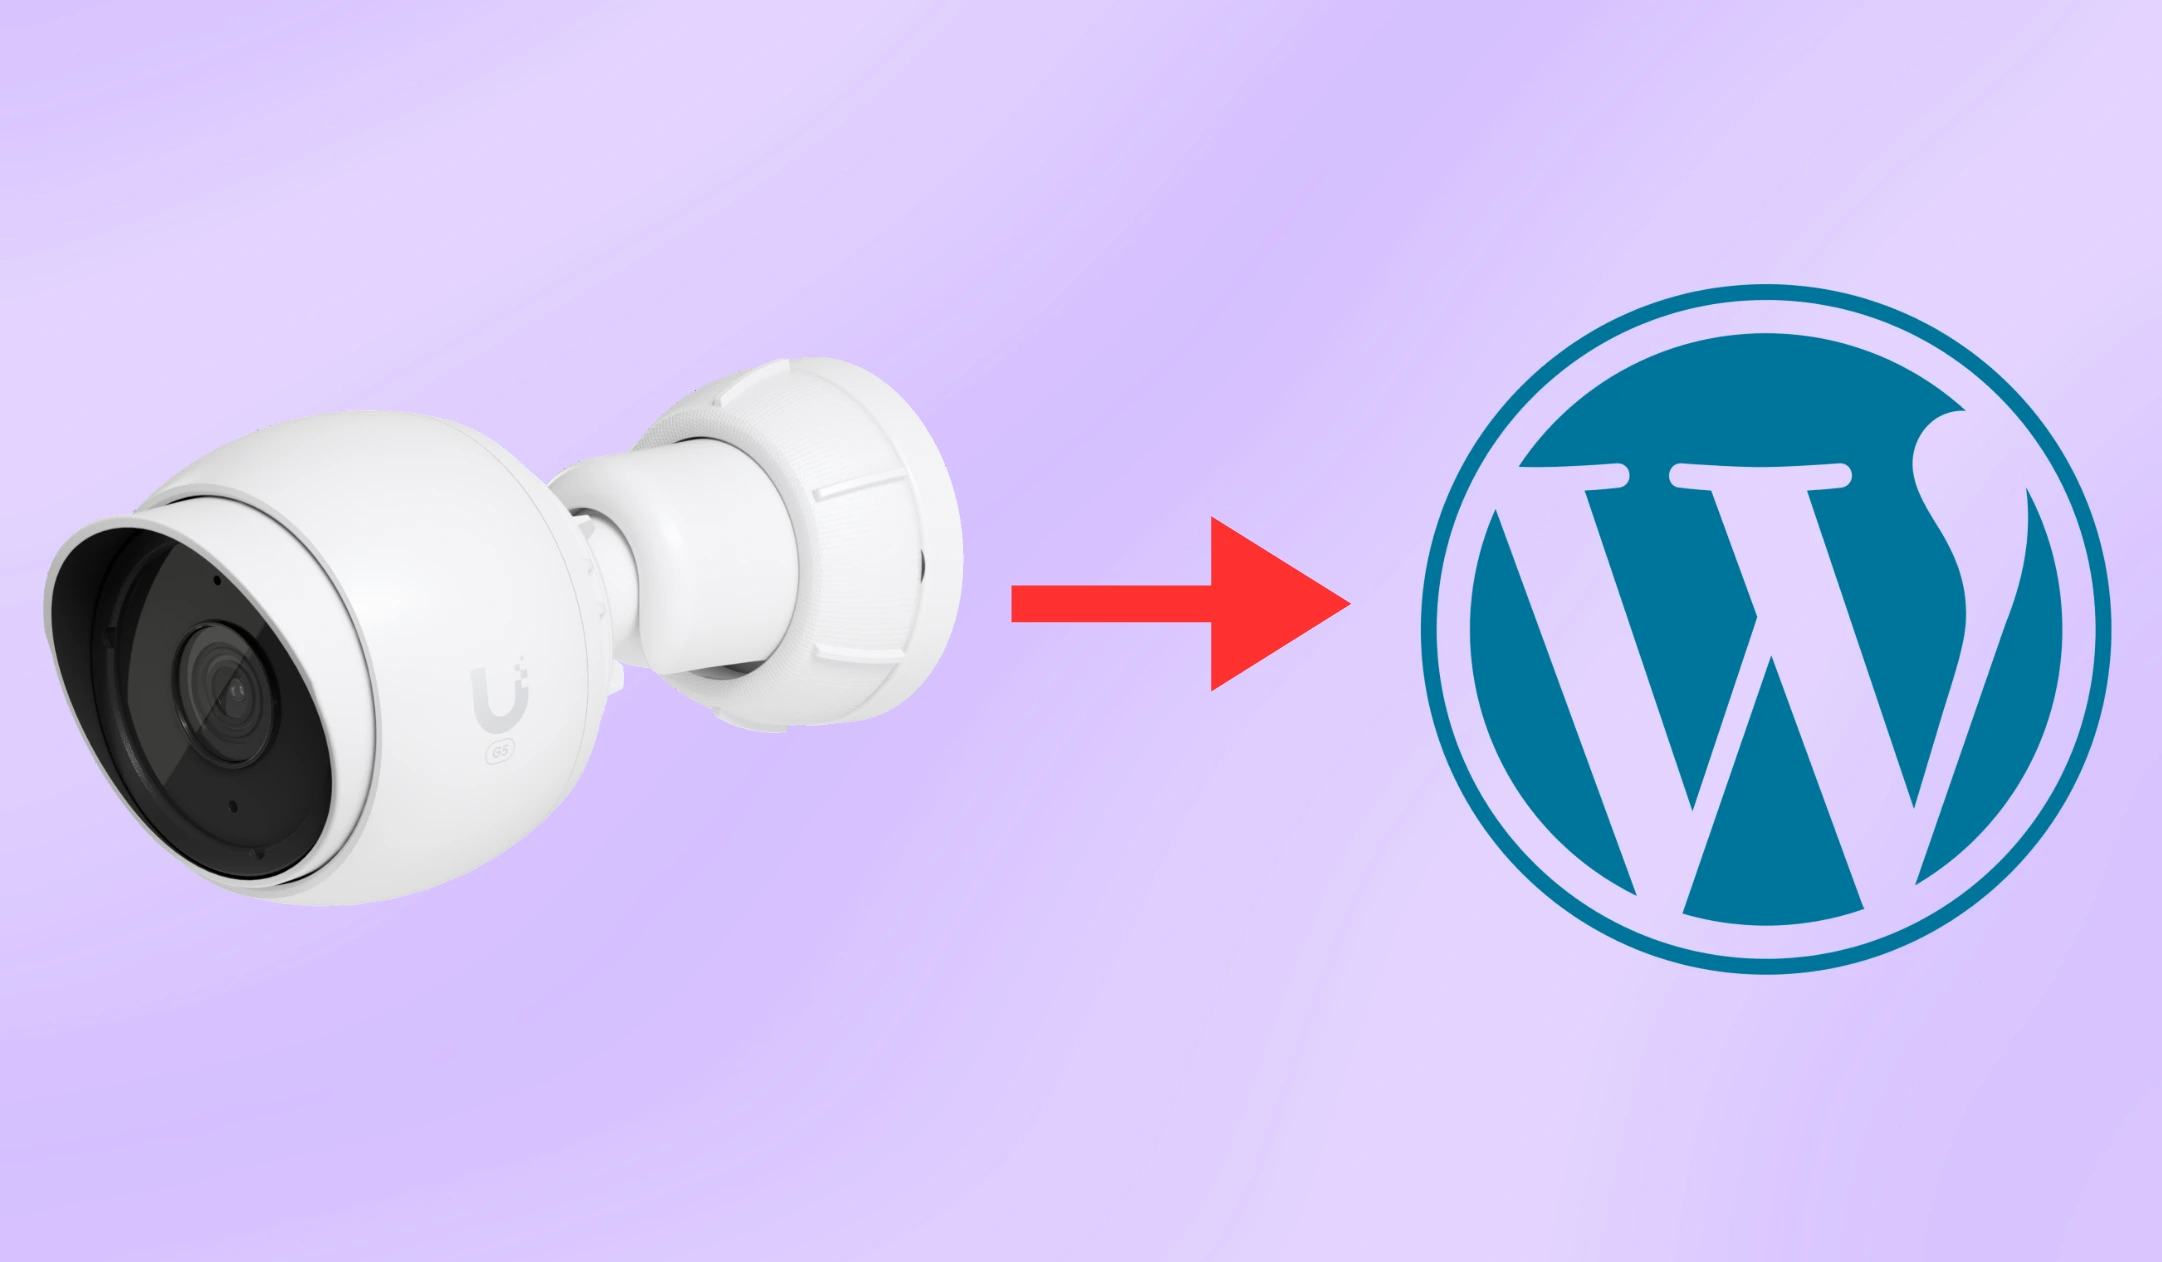
The UniFi Protect cameras that Ubiquiti offers have a large and varied array of use cases, with many models now on offer, ranging from indoor, outdoor and special use cases. With the latest G5 models, the image quality for the price is pretty unrivalled. The purpose of this guide is to go over how to make a camera RTSP feed from UniFi Protect available on the web, to be able to be embedded in a WordPress website for example. A good use of this would be a weather camera a surfing company wants to overlook the beach. Plus, this has lots of other use cases.
If you want fast and reliable UniFi hosting, check out HostiFi with fast support, regular backups, managed updates and prices from just $9 per month.
To learn more about our hosting plans, create an account and get started today.
For this to work you will need the following:
UniFi OS Console is optional, there are two methods.
First thing to do is log into your standalone UniFi Protect camera. All of the models have their own local interface which allows you to adopt them to a UNVR over Layer 3 using the IP address. However, in this example we're going to be enabling the RTSP stream on the camera.
Make sure your camera has a static IP address, or the DHCP lease has been reserved within your DHCP server. The port forwarding that needs to happen will require the camera to always have the same IP address.

The camera needs to be in standalone mode for this method, only if you don't have a UniFi Protect server handing recordings. If you do, see the 'UniFi Protect Method' section below.

Next, we need to enable the RTSP feed on the camera. This will allow us to stream it online. We can choose between Low, Medium and High and customise the Bitrate and FPS. Make a note of the RTSP URL as we'll need that later.

This step will vary a lot with what router you have, for this example we're going to give some basic settings. We have some guides on our support centre which explains how to port forward on UniFi using a USG, UDM or UXG and then also with EdgeOS when using an EdgeRouter.
The main thing is to forward the 554 port that the UniFi Camera is using to another port such as 5540. When setting up the RTSP feed to view remotely, you'll use the following URL:
rtsp://PUBLIC_IP:5540/s0
Replace the 'PUBLIC_IP' with your own public IP address. Later in the guide we'll be using RTSP.ME and this service can be used to validate the RTSP stream is working correctly.
This method is very similar to the standalone method but nearly everything is done though the UniFi Protect server. First you'll need your IP address for your UNVR or UniFi Cloud Key and make sure this IP address will remain the same, just like the standaone method.

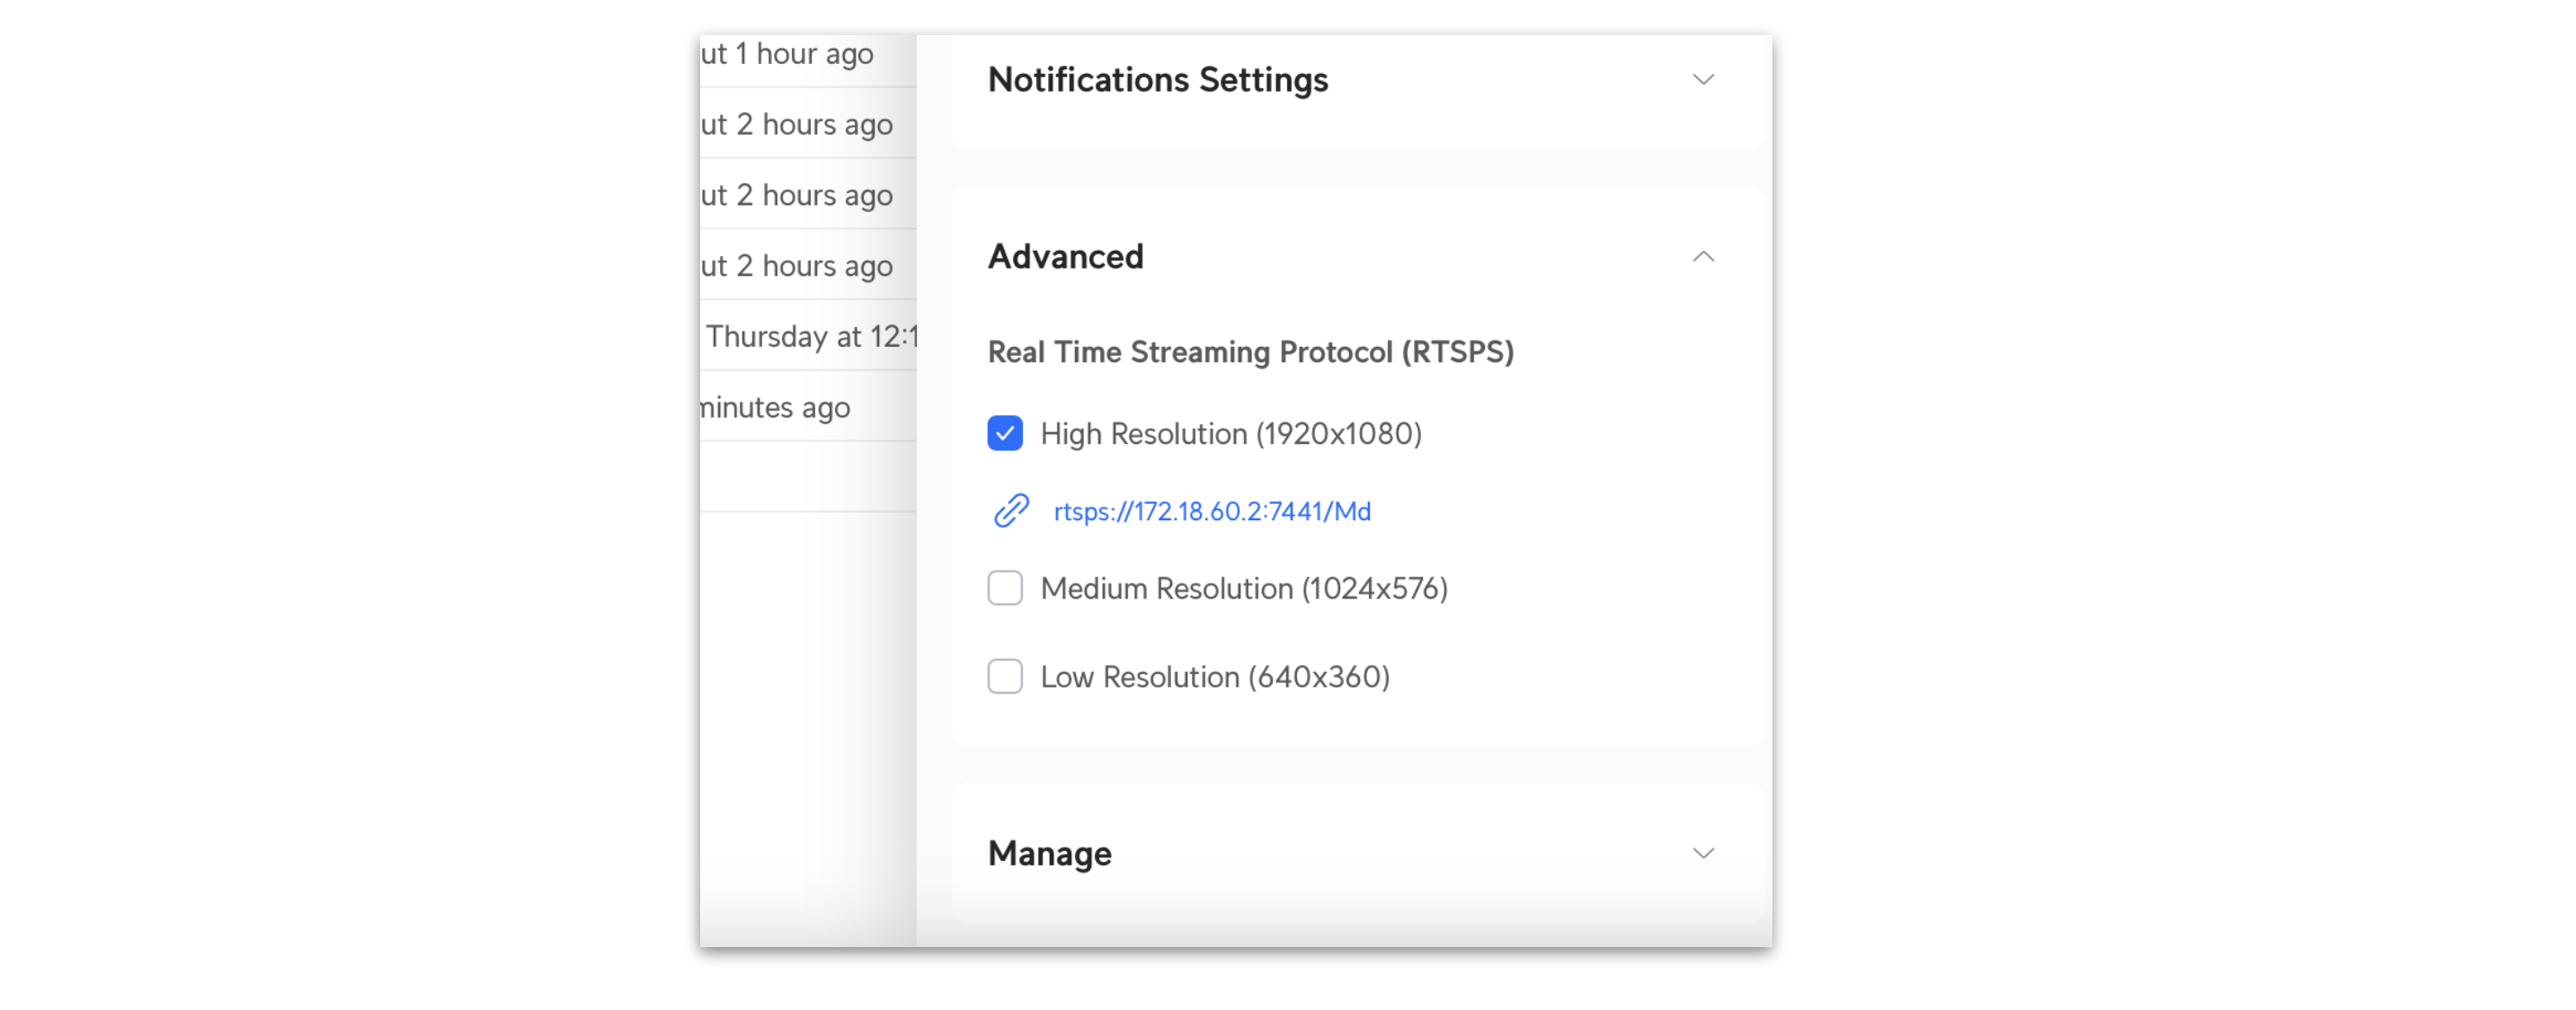
Next we need to enable RTSP, this process is slightly different. We need to go to the camera settings with UniFi Protect on the web, then down to Advanced, then we can enable the RTSP stream. We can choose from Low, Medium or High Resolution. Once enabled, a unique URL will be available to copy. Make a note of this URL, as we'll need it later.
The URL will look like this:
rtsps://NVR_IP:7441/RANDOM_LETTERS?enableSrtp
This step will vary a lot with what router you have, for this example we're going to give some basic settings. We have some guides on our support centre which explains how to port forward on UniFi using a USG, UDM or UXG and then also with EdgeOS when using an EdgeRouter.
The main thing is to forward the 7441 port that the UniFi Protect server is using to another port such as 74410. When setting up the RTSP feed to view remotely, you'll use the following URL:
rtsps://NVR_IP:7441/RANDOM_LETTERS?enableSrtp
Replace the 'NVR_IP' with your own public IP address. Later in the guide we'll be using RTSP.ME and this service can be used to validate the RTSP stream is working correctly.
Making the feed available requires a service such as RTSP.ME, which is free of charge for small deployments. They offer one camera free and 1,000 hits per month, for anymore than this it does cost a small fee of €5/month for up to 10,000 a month. This service takes the RTSP feed and gives you options to embed the HTML player on a website with or without password access and also, if required a time schedule.
In the image below, I have entered in the URL for my RTSPS stream from my UNVR and it has displayed the feed in the preview window.

From here, I can now click on the HTML code tab and embed this inside of my WordPress website or any other website and show the camera feed to my visitors and customers.
No spam. Unsubscribe anytime.
Newsletter Subscriber
Newsletter Subscriber
Newsletter Subscriber